Jump to: Beginning of project
May update, Great keyboard complete
July update, Keyboards/stops complete
August update, almost done!
April 22, 2022
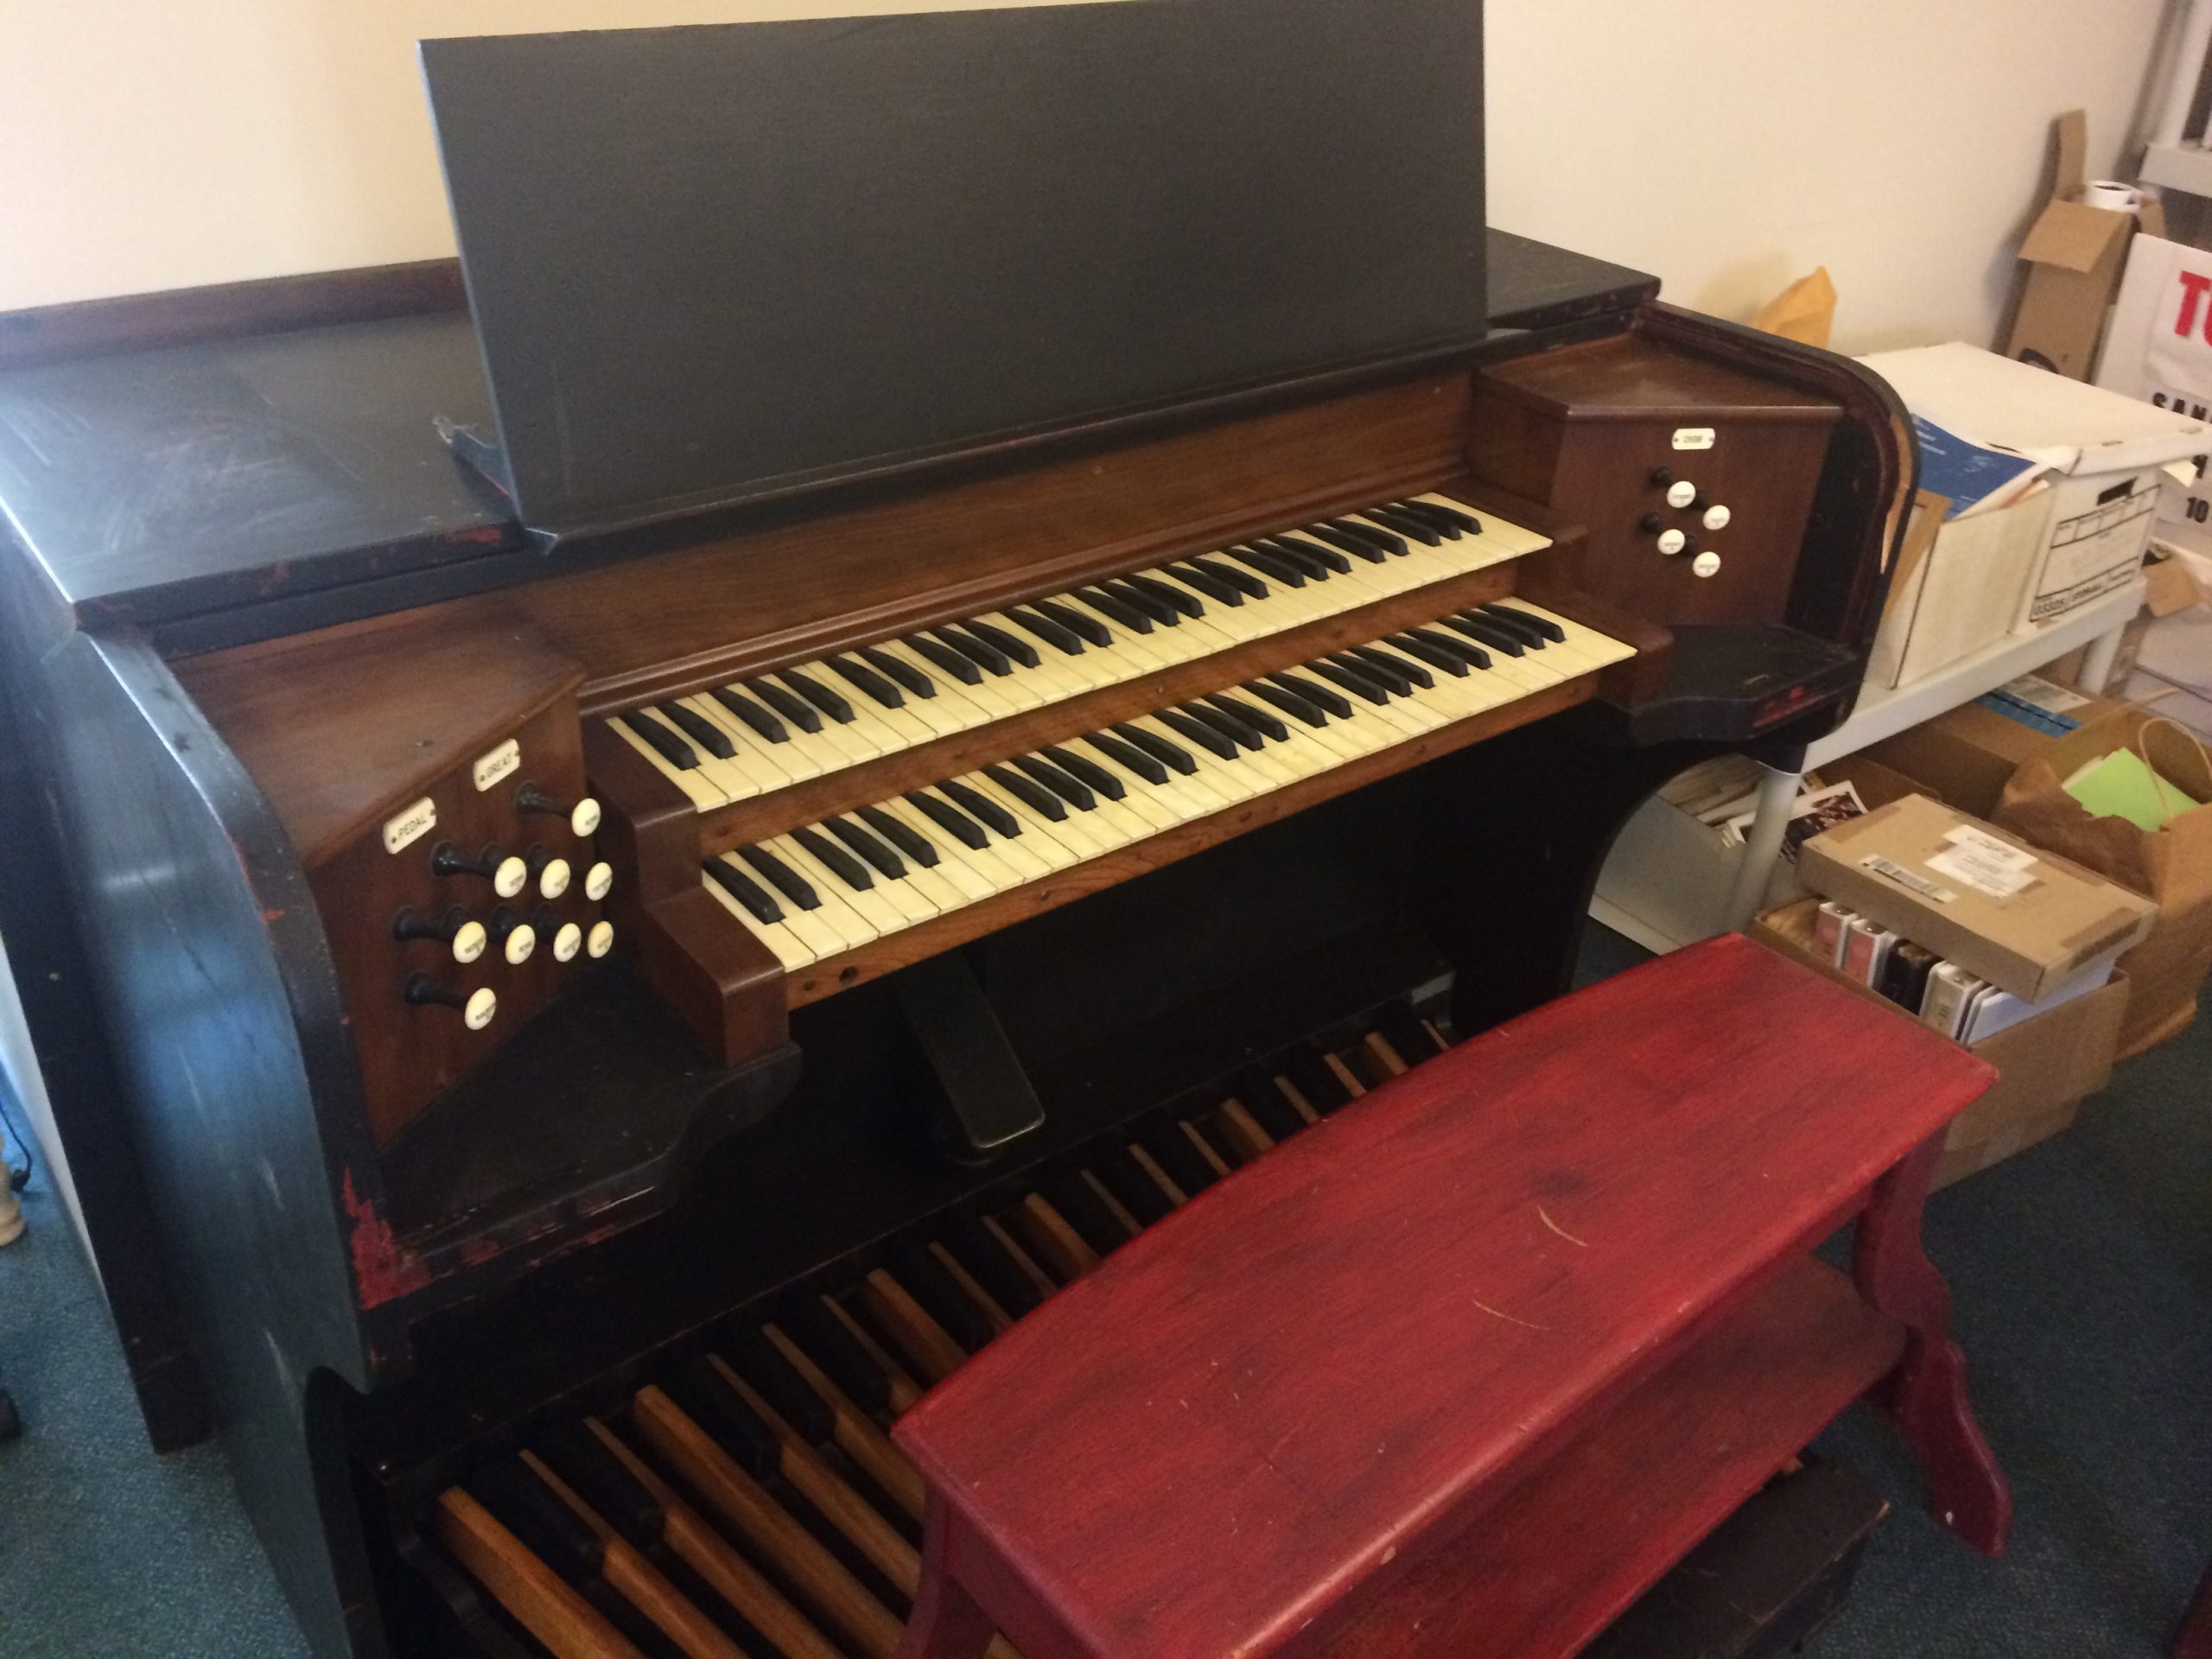
During my Summer 2022 Sabbatical, I’ll be re-wiring the Skinner/Berkshire console that I recently obtained, having helped Bill Czelusniak and company remove it from the Federated Church in Charlemont, MA, in 1996. (That church received a larger console at that time, while improvements and additions were made to the organ itself, which is still extant). I am currently researching the history of the console and its tiny 2-rank organ, which made stops at UMass, Amherst, and Holy Cross Church, Holyoke in the 1970s and 80s, before landing in Charlemont. Initial research places the building date of the console around 1931.
It is a very simple, small console, with mechanically-operated gang switches for the 13 stop controls, and a single swell expression shoe that has been screwed into position as a foot rest. The goal is to completely gut the wiring and connect DTS MIDI encoders so the console can control Hauptwerk or GrandOrgue virtual organ software – two manual keyboards (61 notes each), pedal (32 notes), 13 stops, expression pedal, for a total of 168 controls to be wired. Before and around that, there will be much cleaning, adjusting, and fixing of electrical contacts, as this console was old already when it was stored in a garage where it has sat since 1996.
Here are photos of the console when we moved it to West Hartford last summer, and initial disassembly:
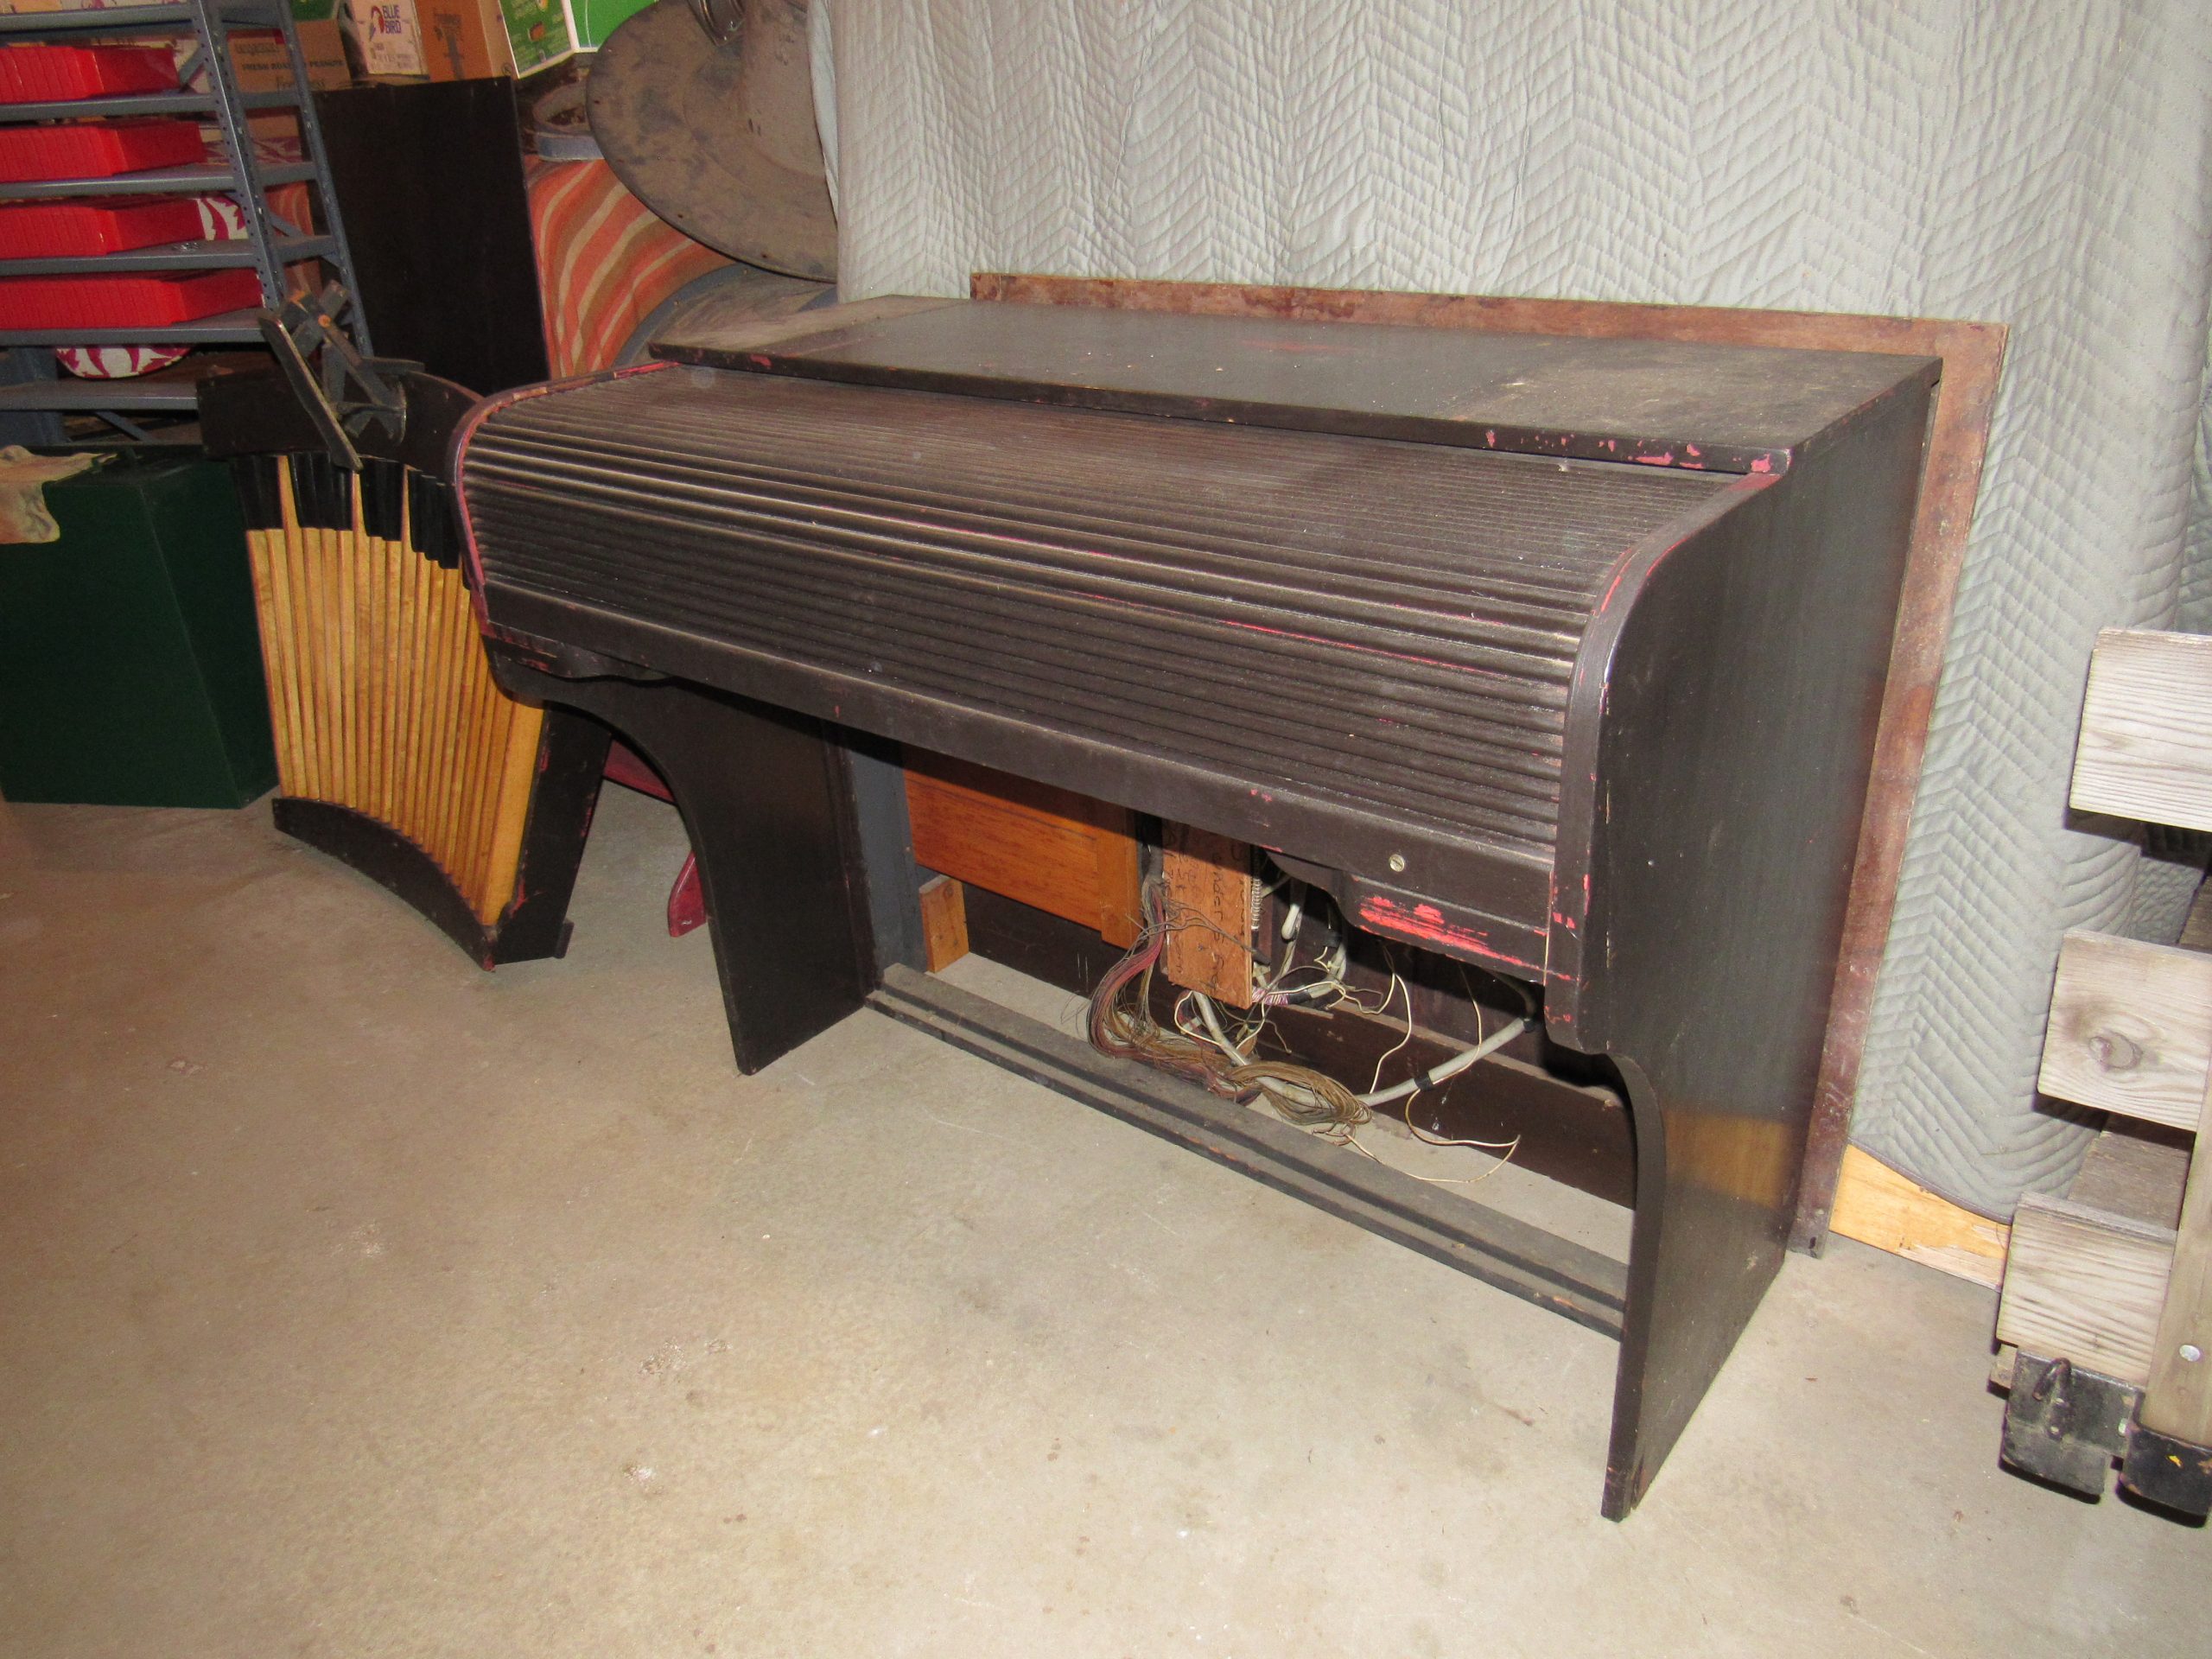
In Southampton MA Storage
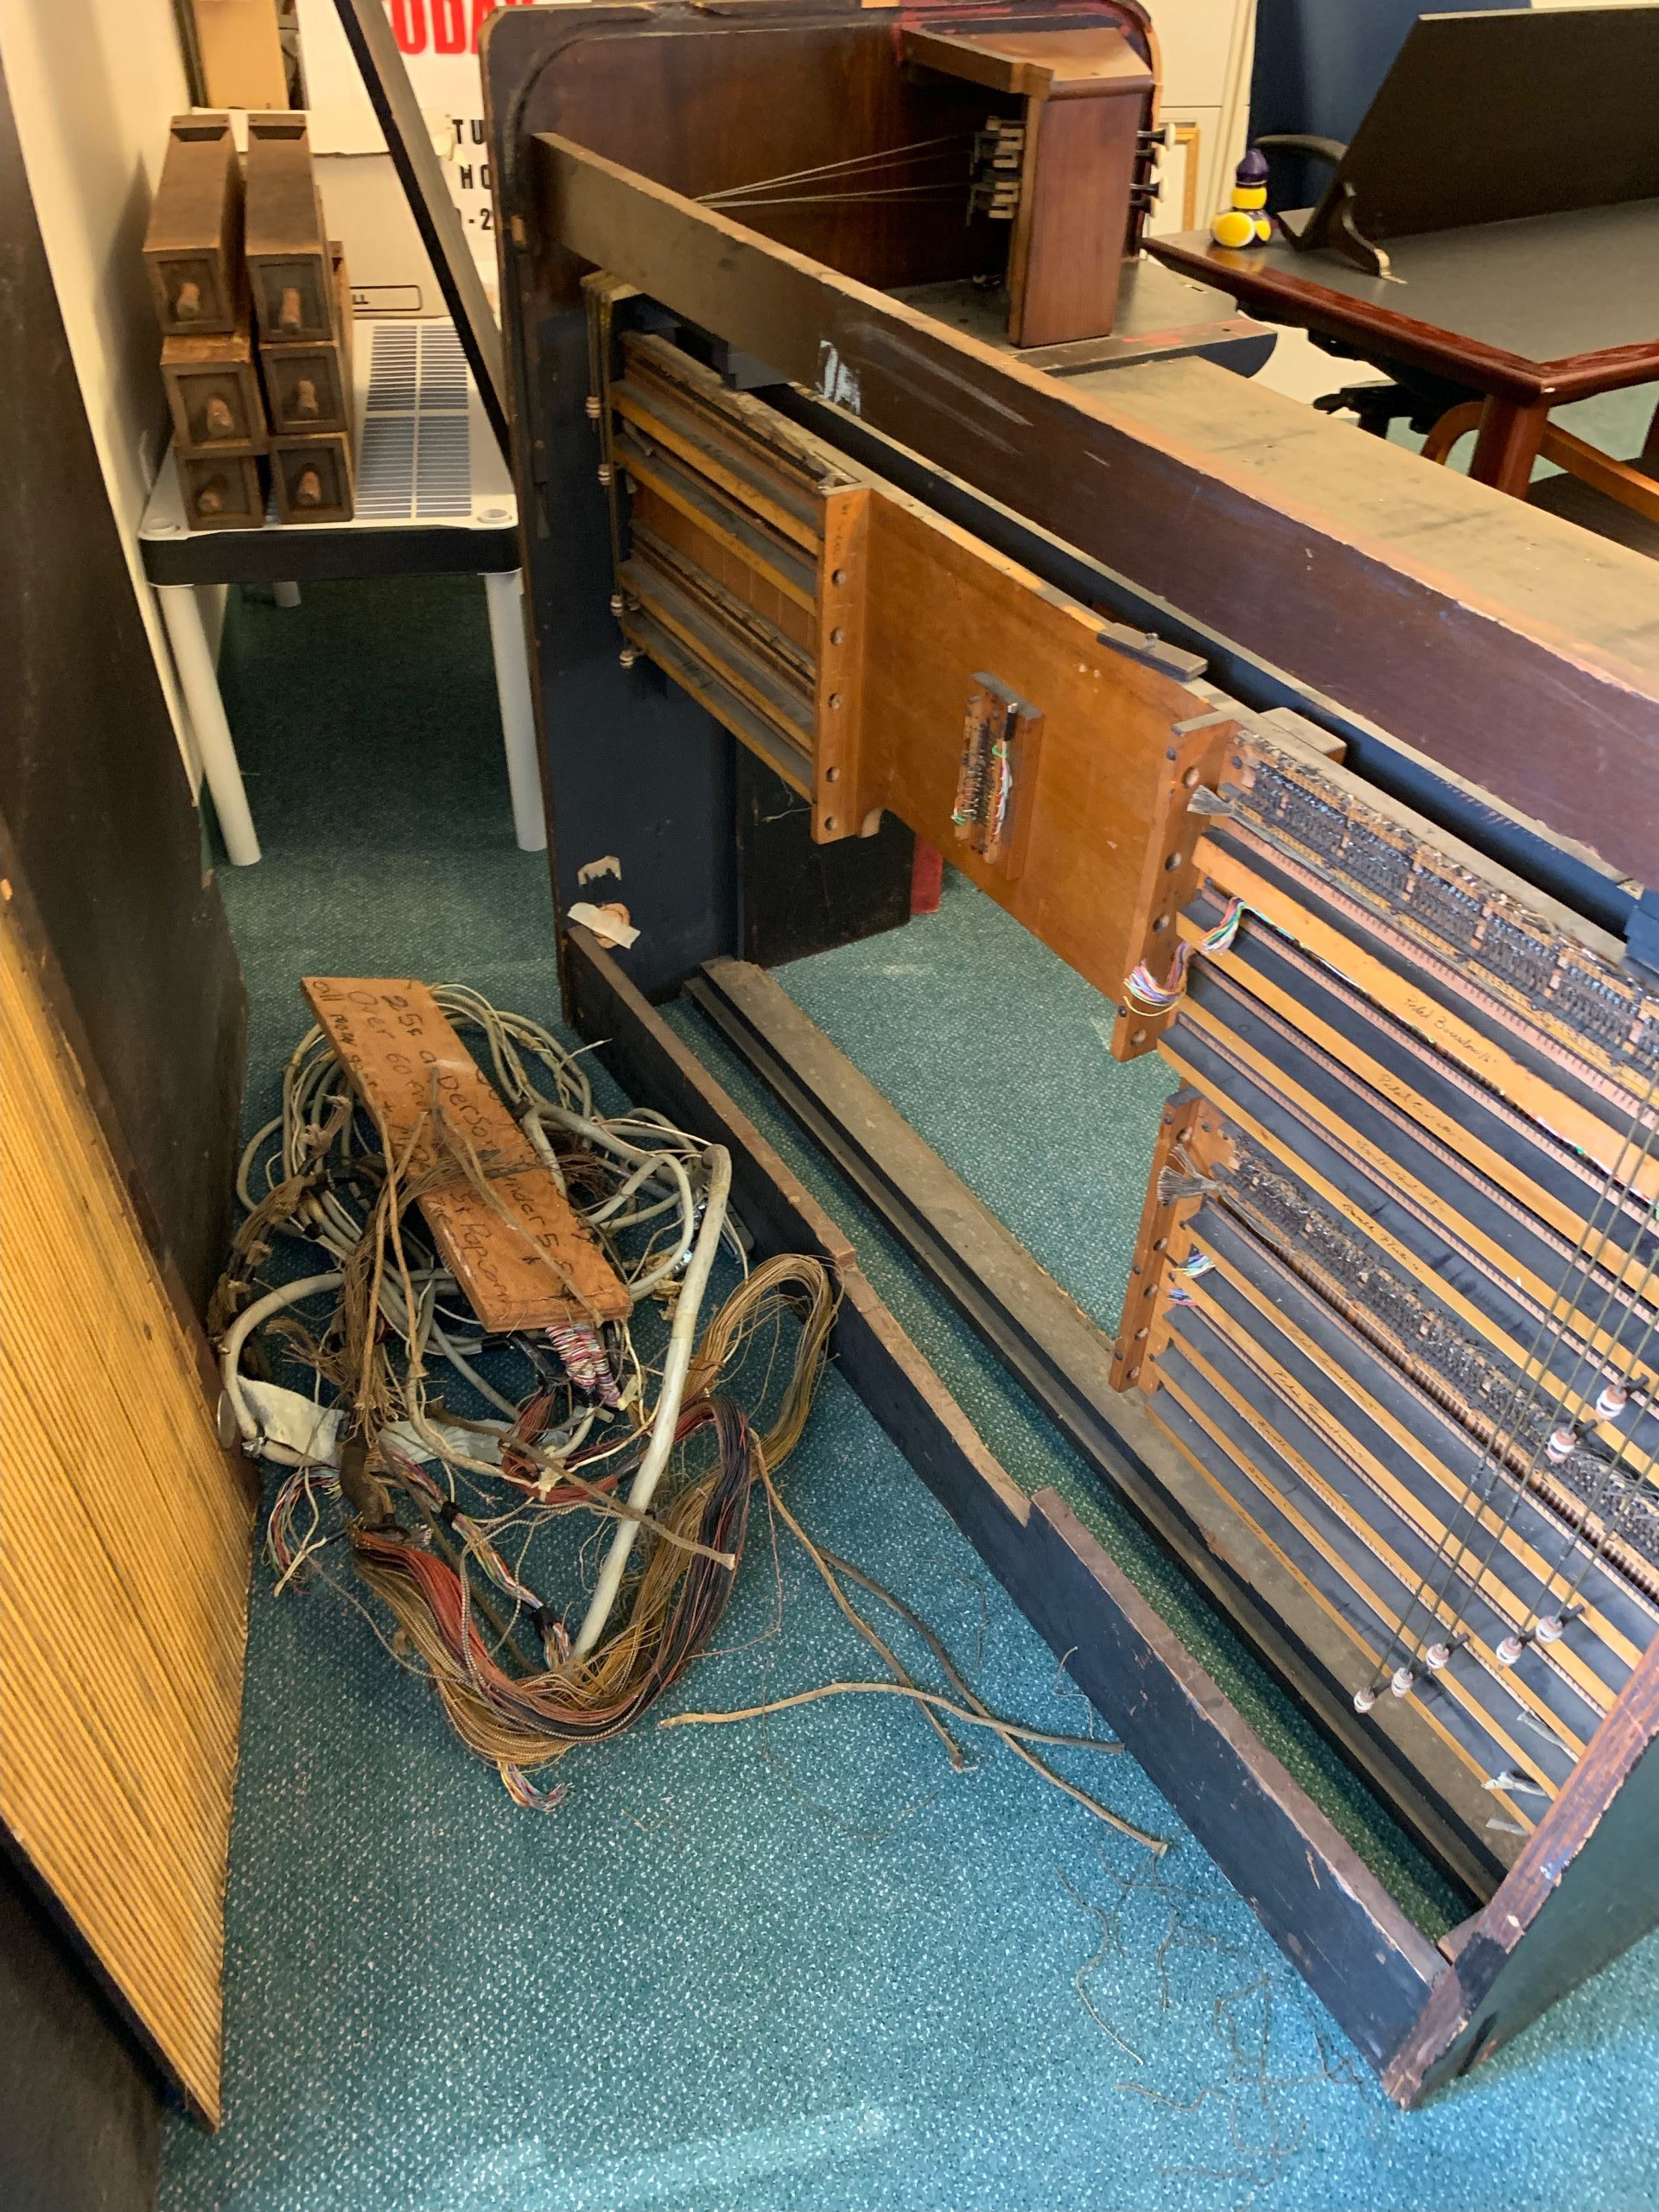
Pile of wiring after initial clean-out
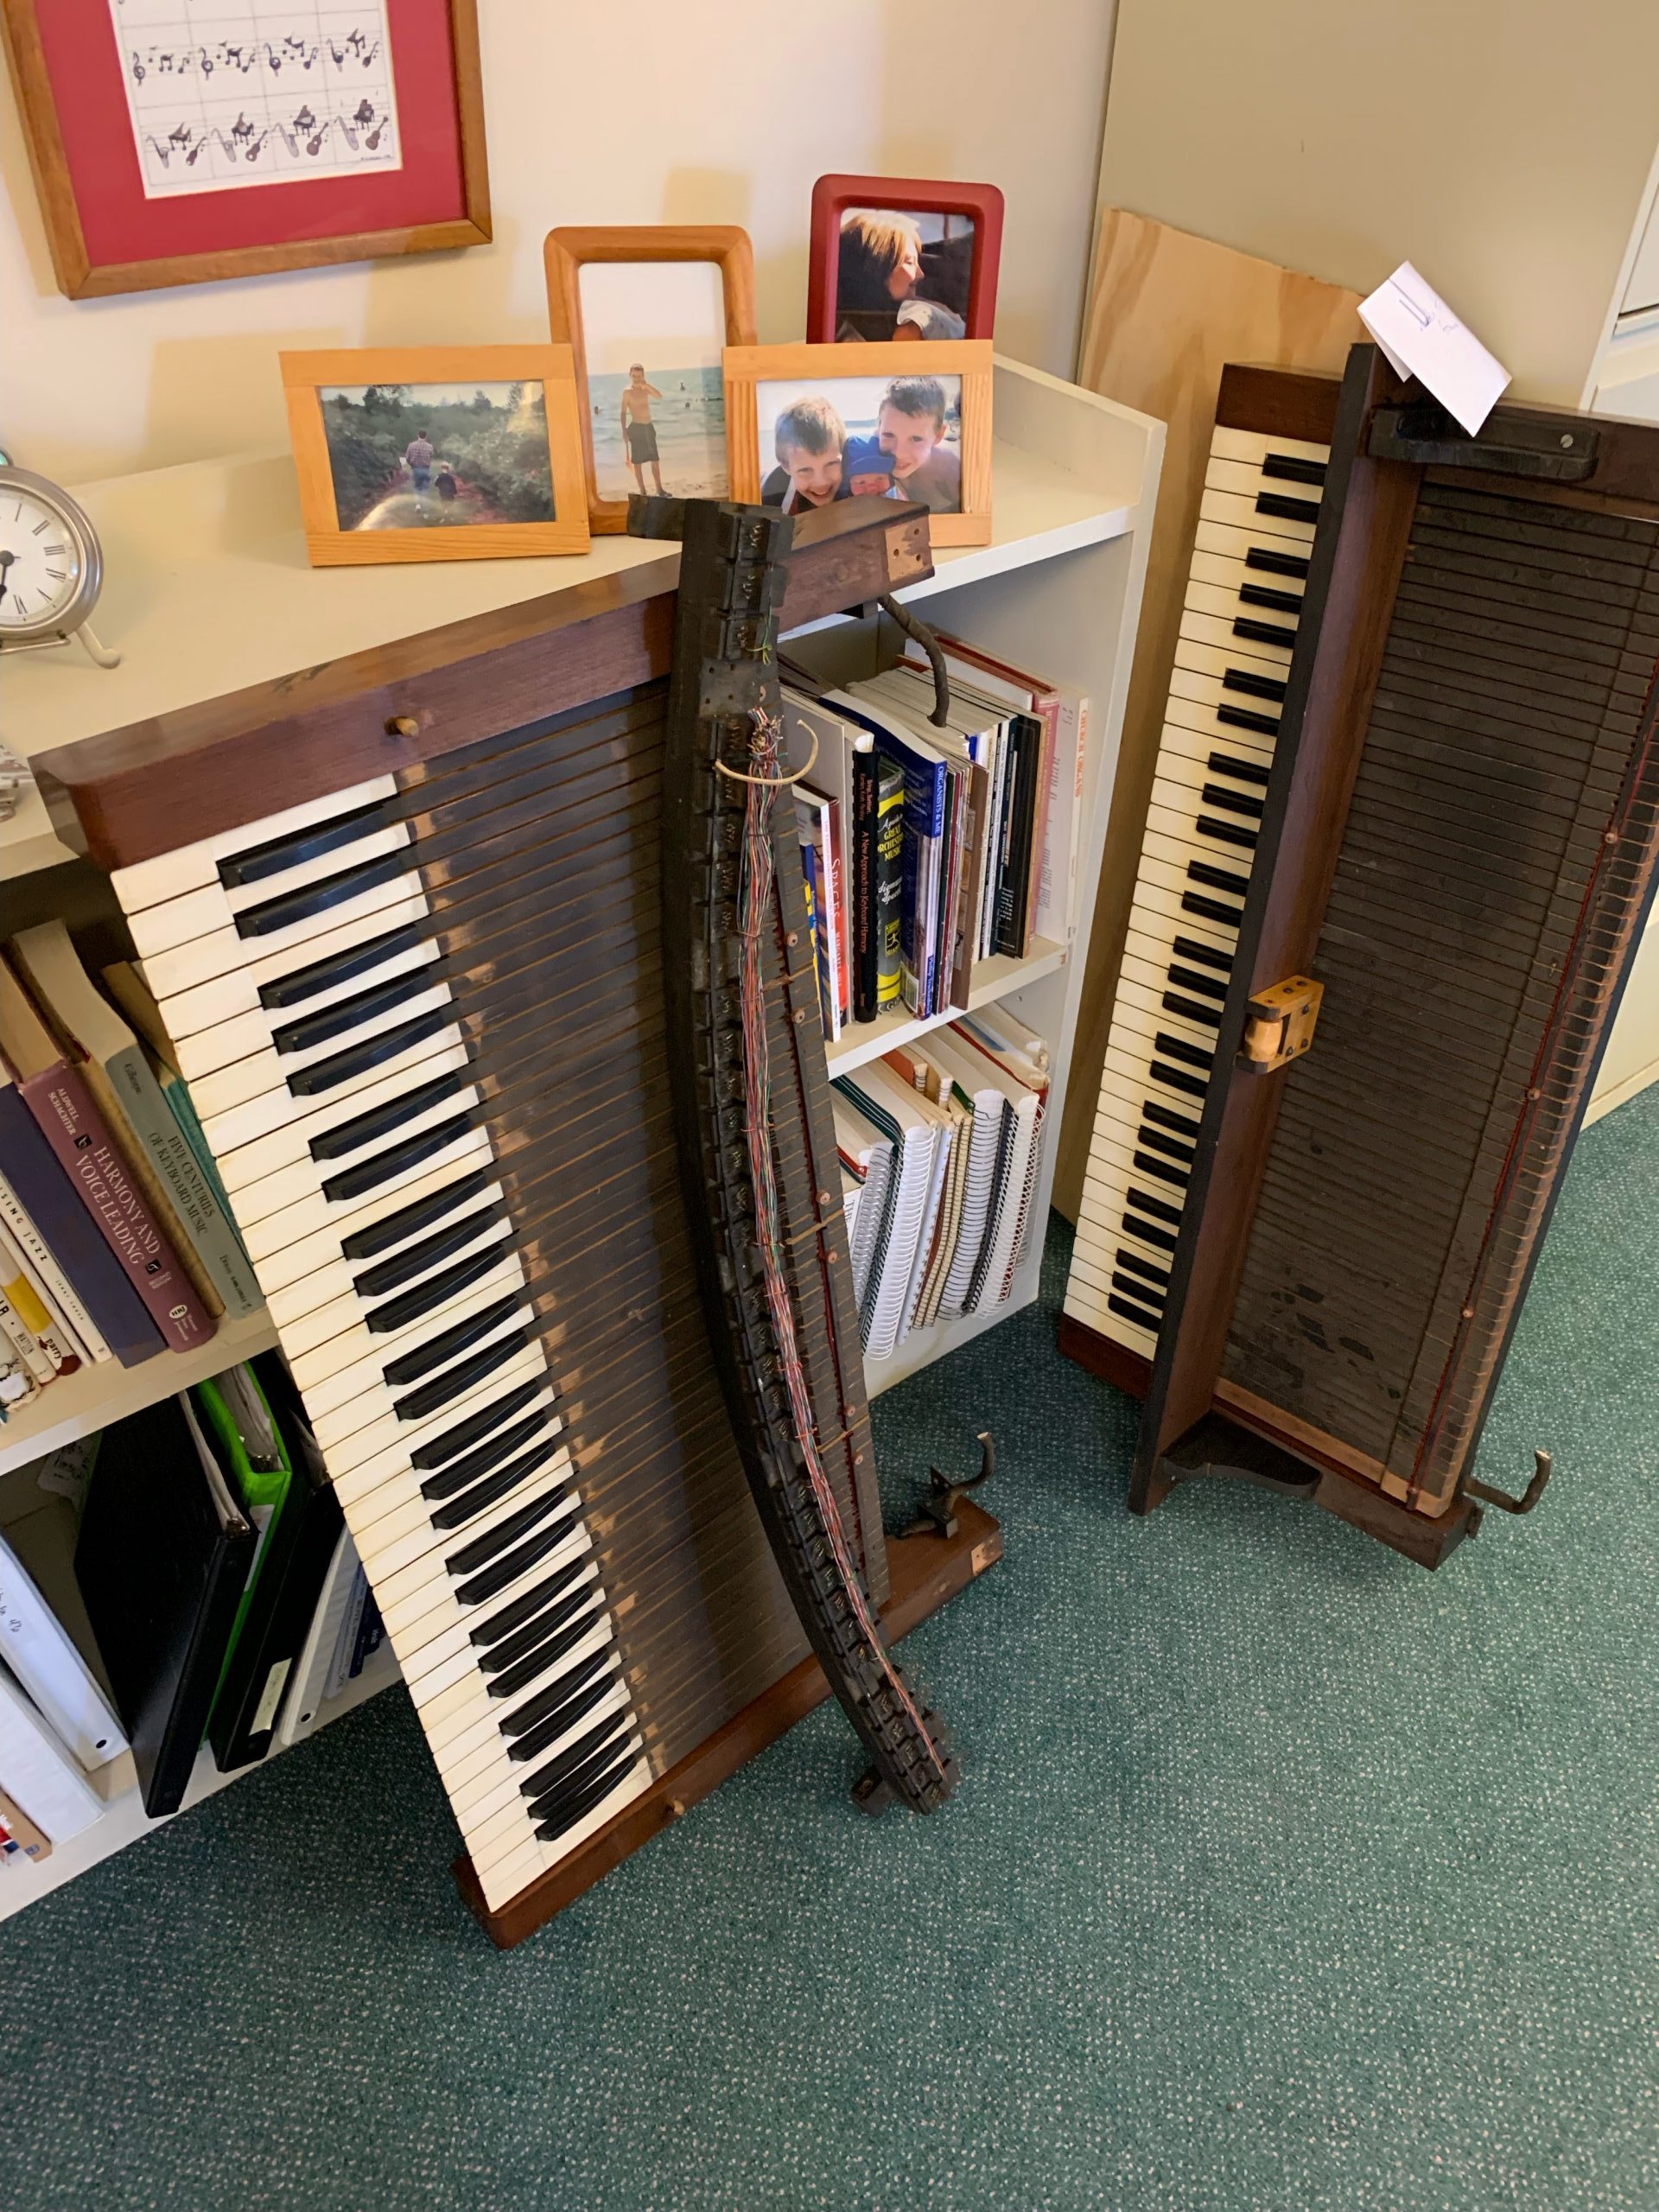
Manuals and pedal contact rail removed for rewiring
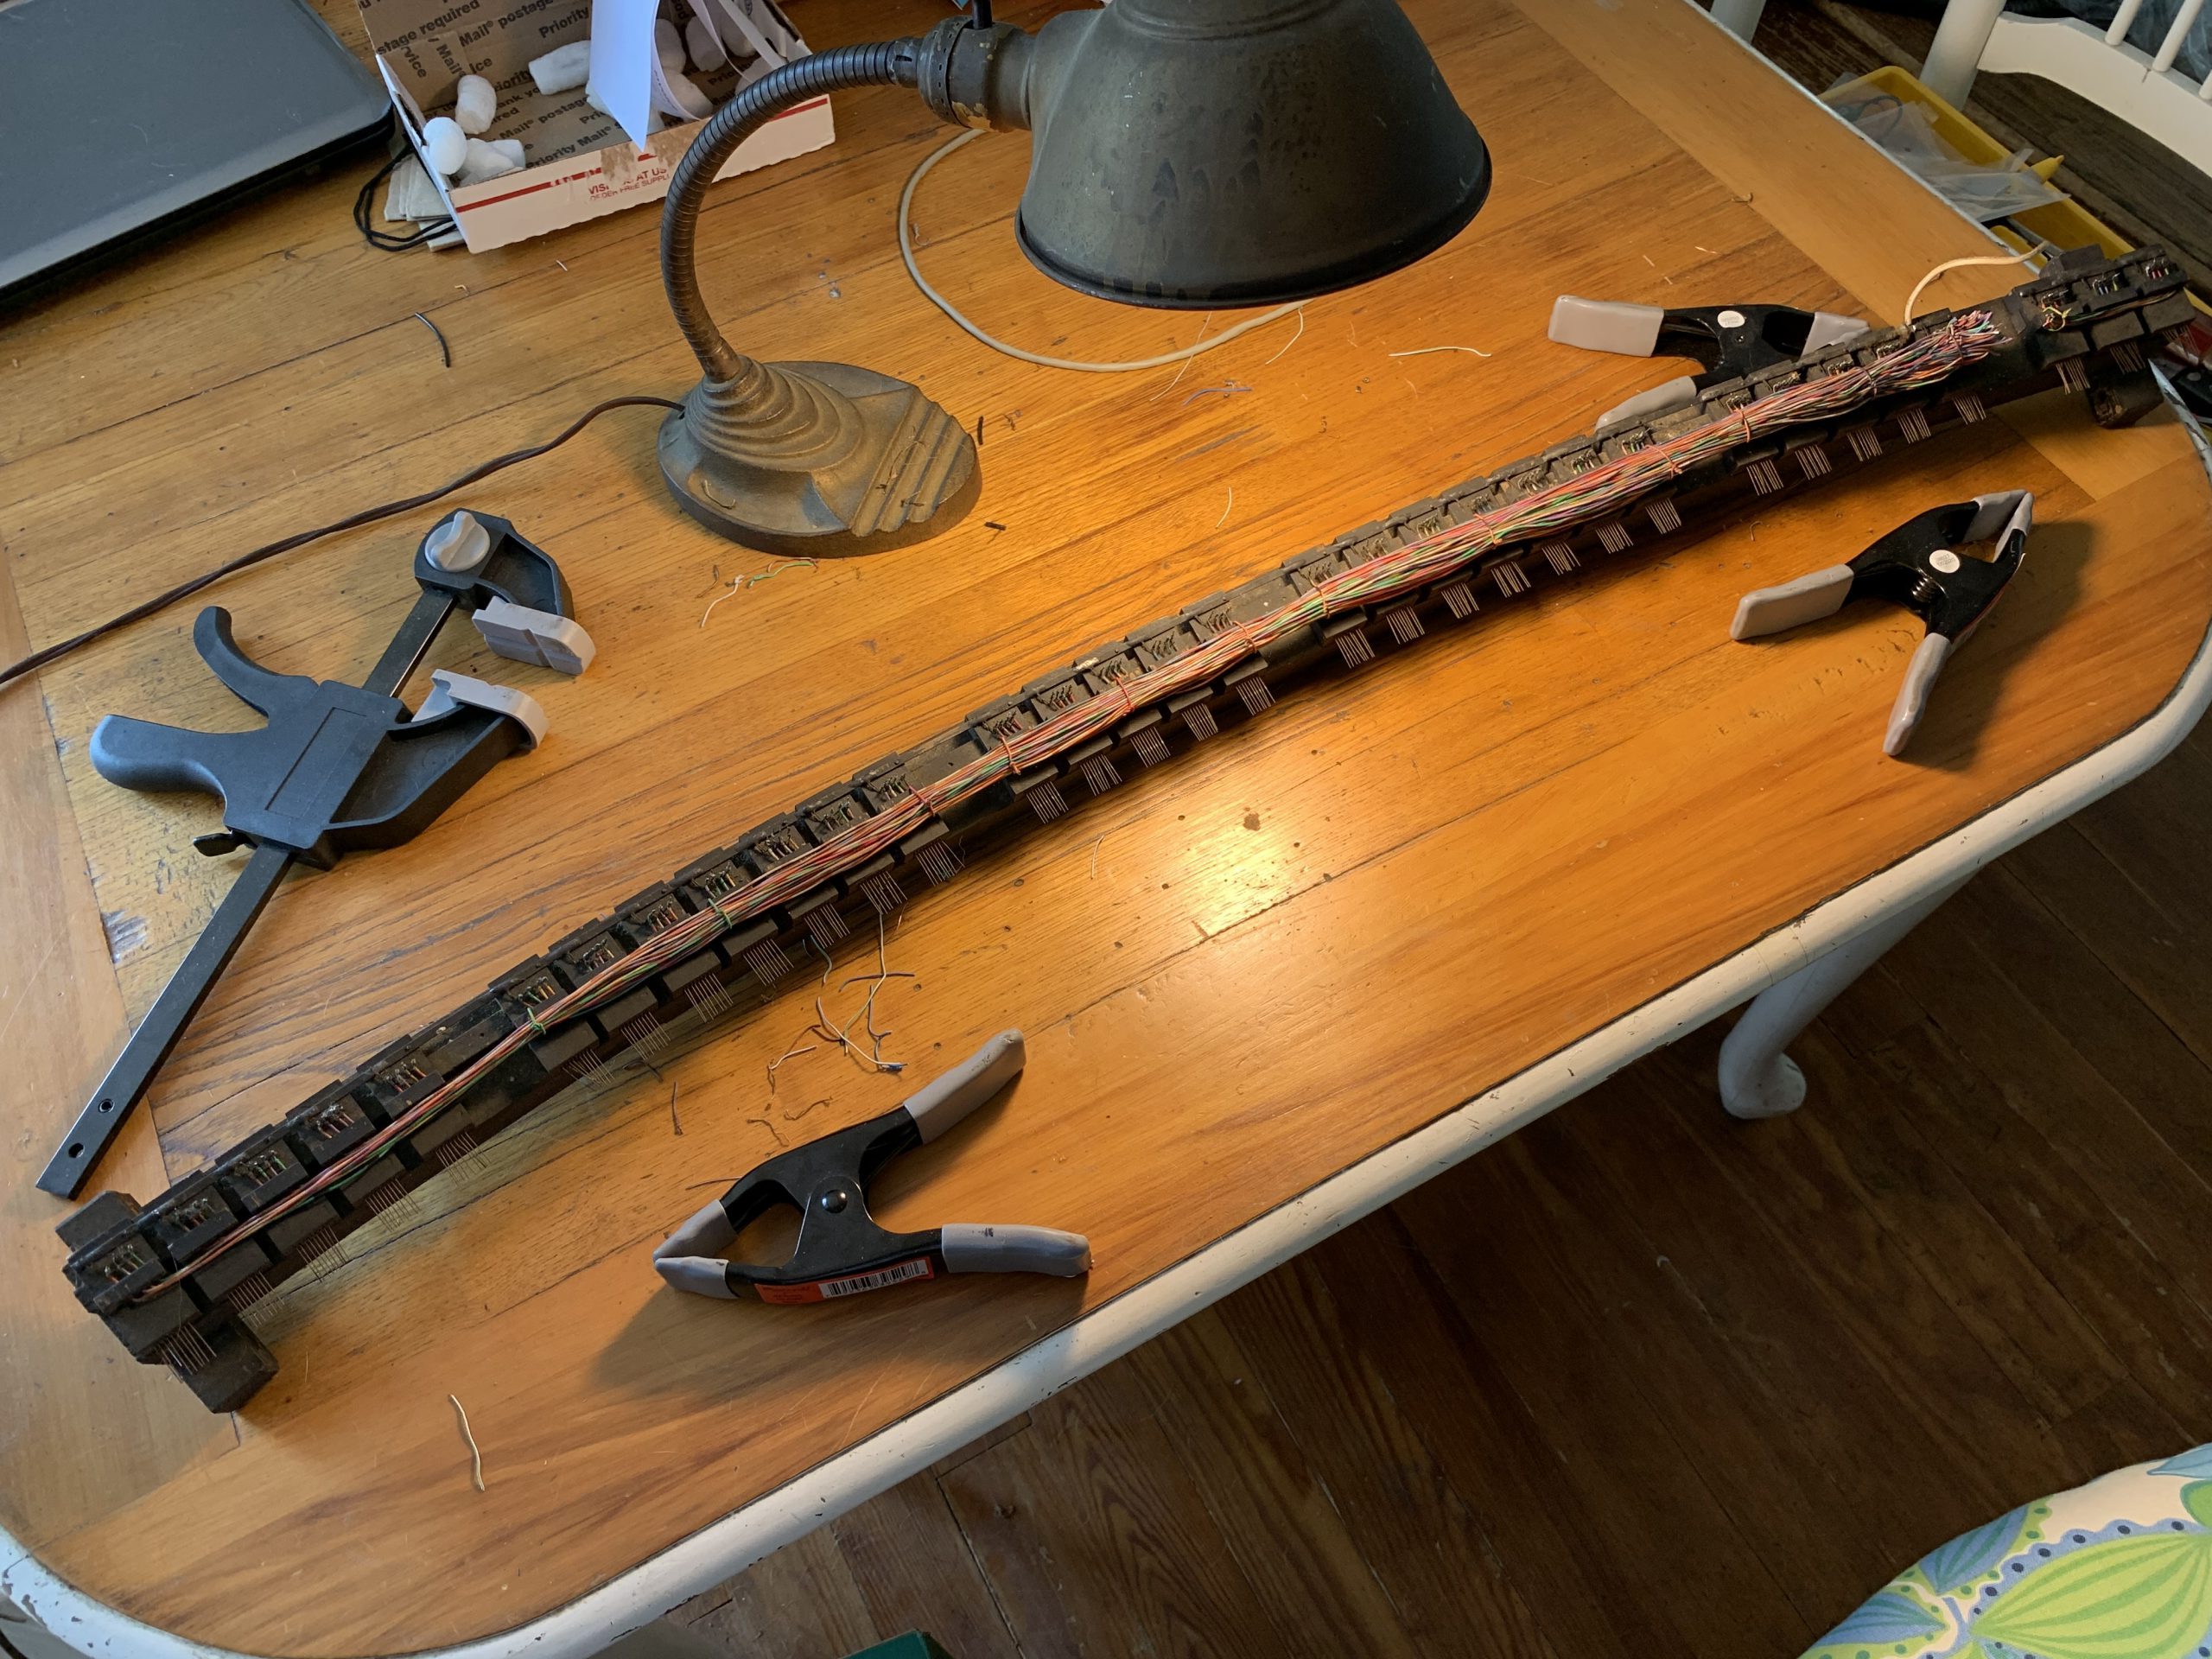
The project is progressing nicely – sorta slow-going, but calming and very much like my version of a knitting project. I have set up a temporary workbench in our dining room, so that good light from the deck/slider are a help and inspiration. The work has included removal of the old wiring from the Great key contacts, cleaning/burnishing of each individual contact wire and the corresponding contactor on the bottom of each key, and rewiring with Cat-5 cable.
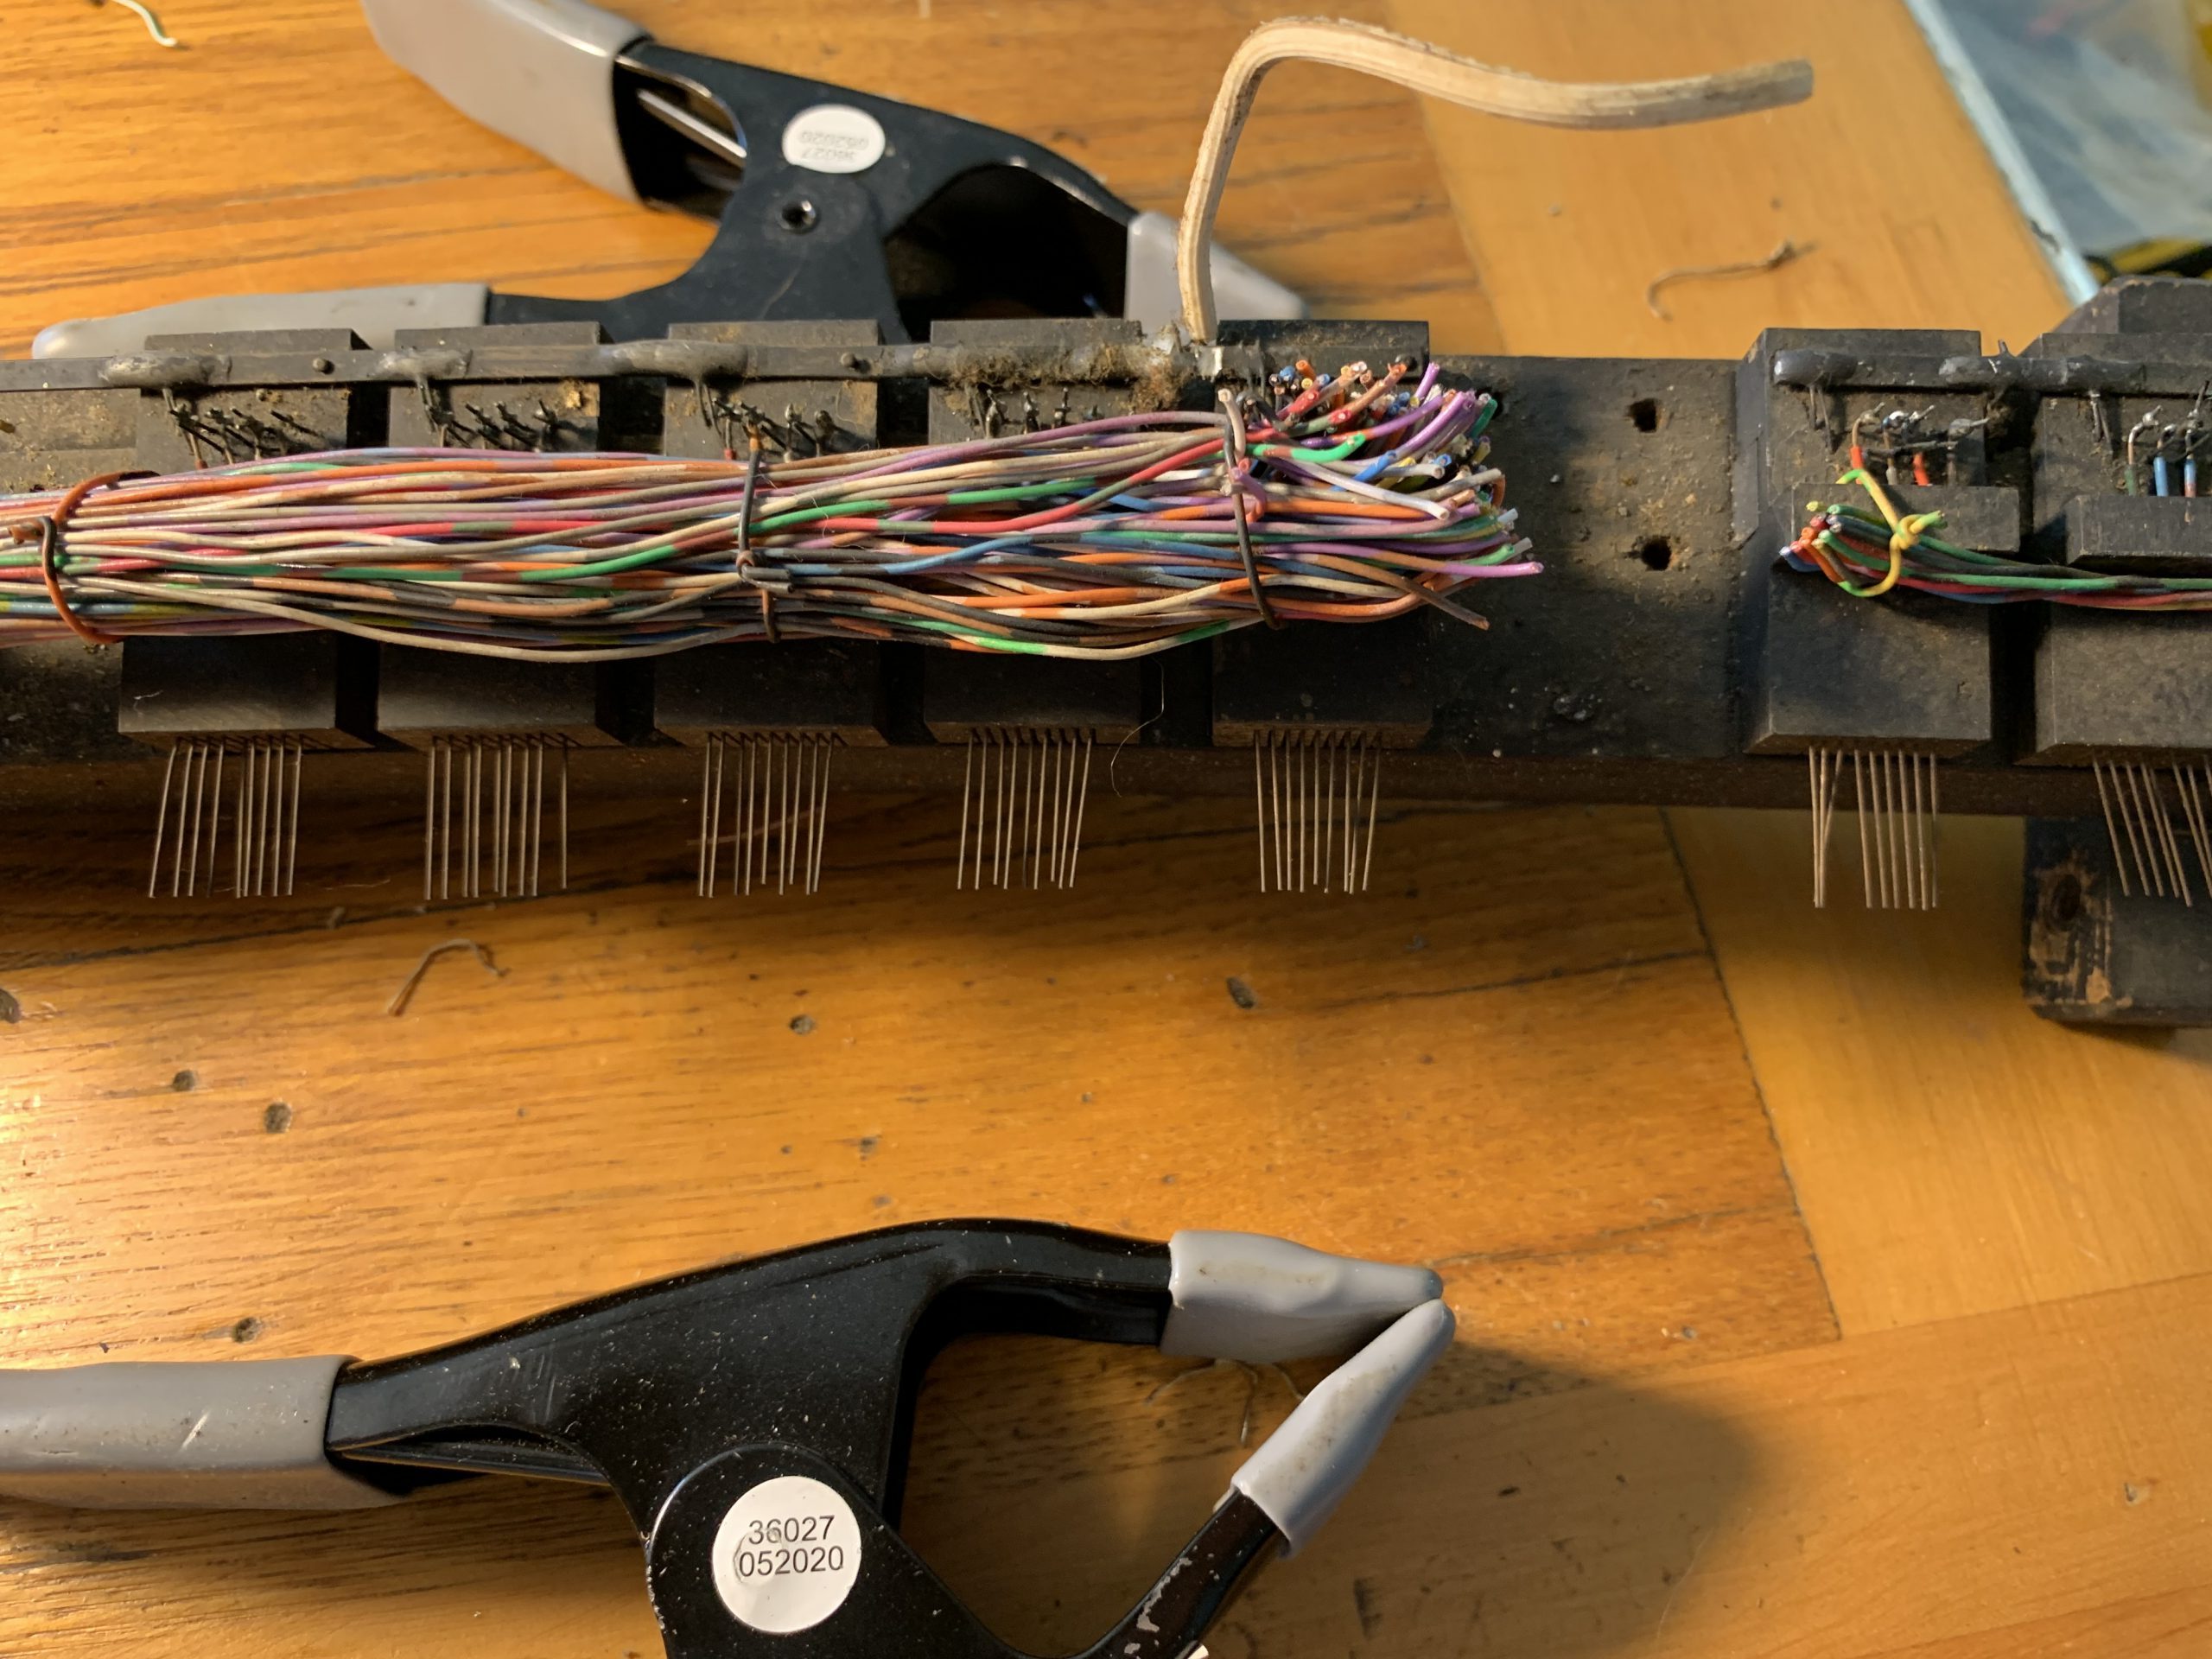
Here’s how it works: The larger metal contact bar crosses all the wires on the contact block when the key is depressed. There is one “common” wire that is connected to the long metal strip that goes along the edge of the rail of contact blocks. Each remaining individual wire is a particular stop, so there are 4-5 wires connected to each key. Only one wire is needed for MIDI conversion, so I’ll be looping one wire around 3 contact pins for redundancy.
To date I have completed the Great manual, and tested it in full (mostly success, some weird ciphers and dead notes that I don’t completely understand), and moved on to the Swell.
A big discovery was that the large cable of individual wires was the only thing holding the contact blocks to the rail, which meant once I cut all those wires, if the common strip came unsoldered from the tiny common wire, the block would get out of position. So, I’m proceeding much more carefully with the Swell!
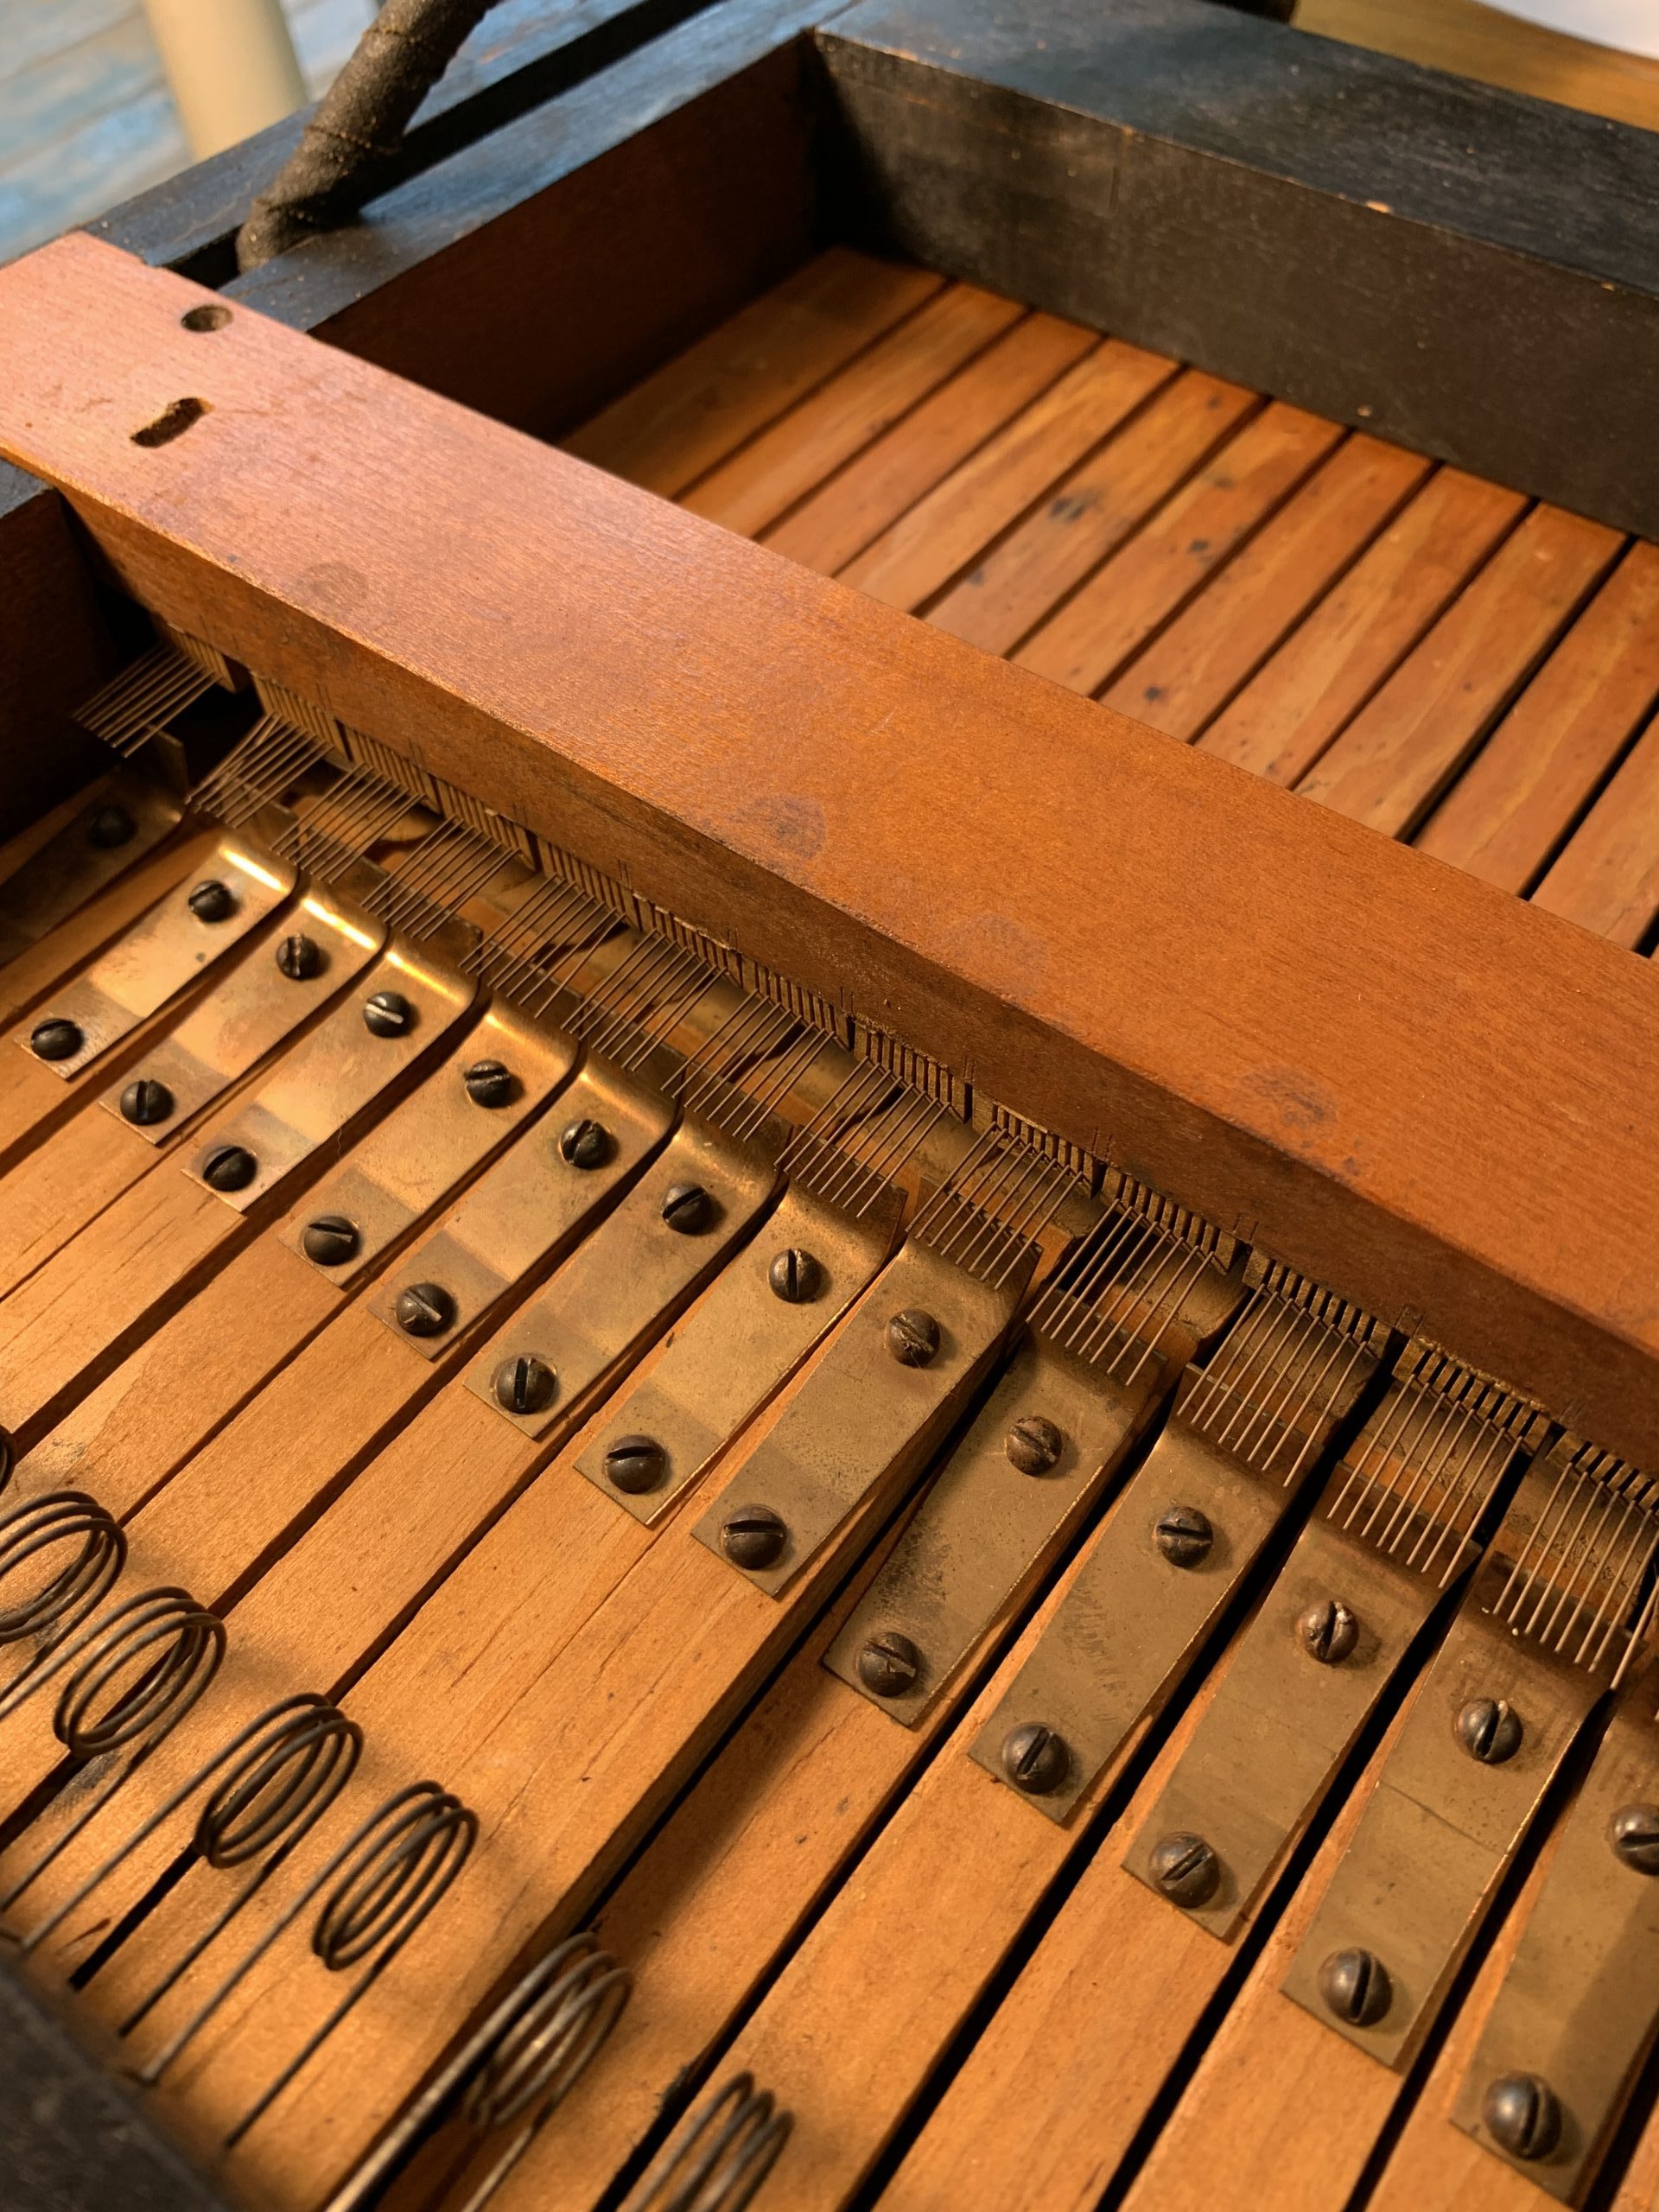
Contactor bar in place. Metal bars on the keys cross all the wires to make contact.
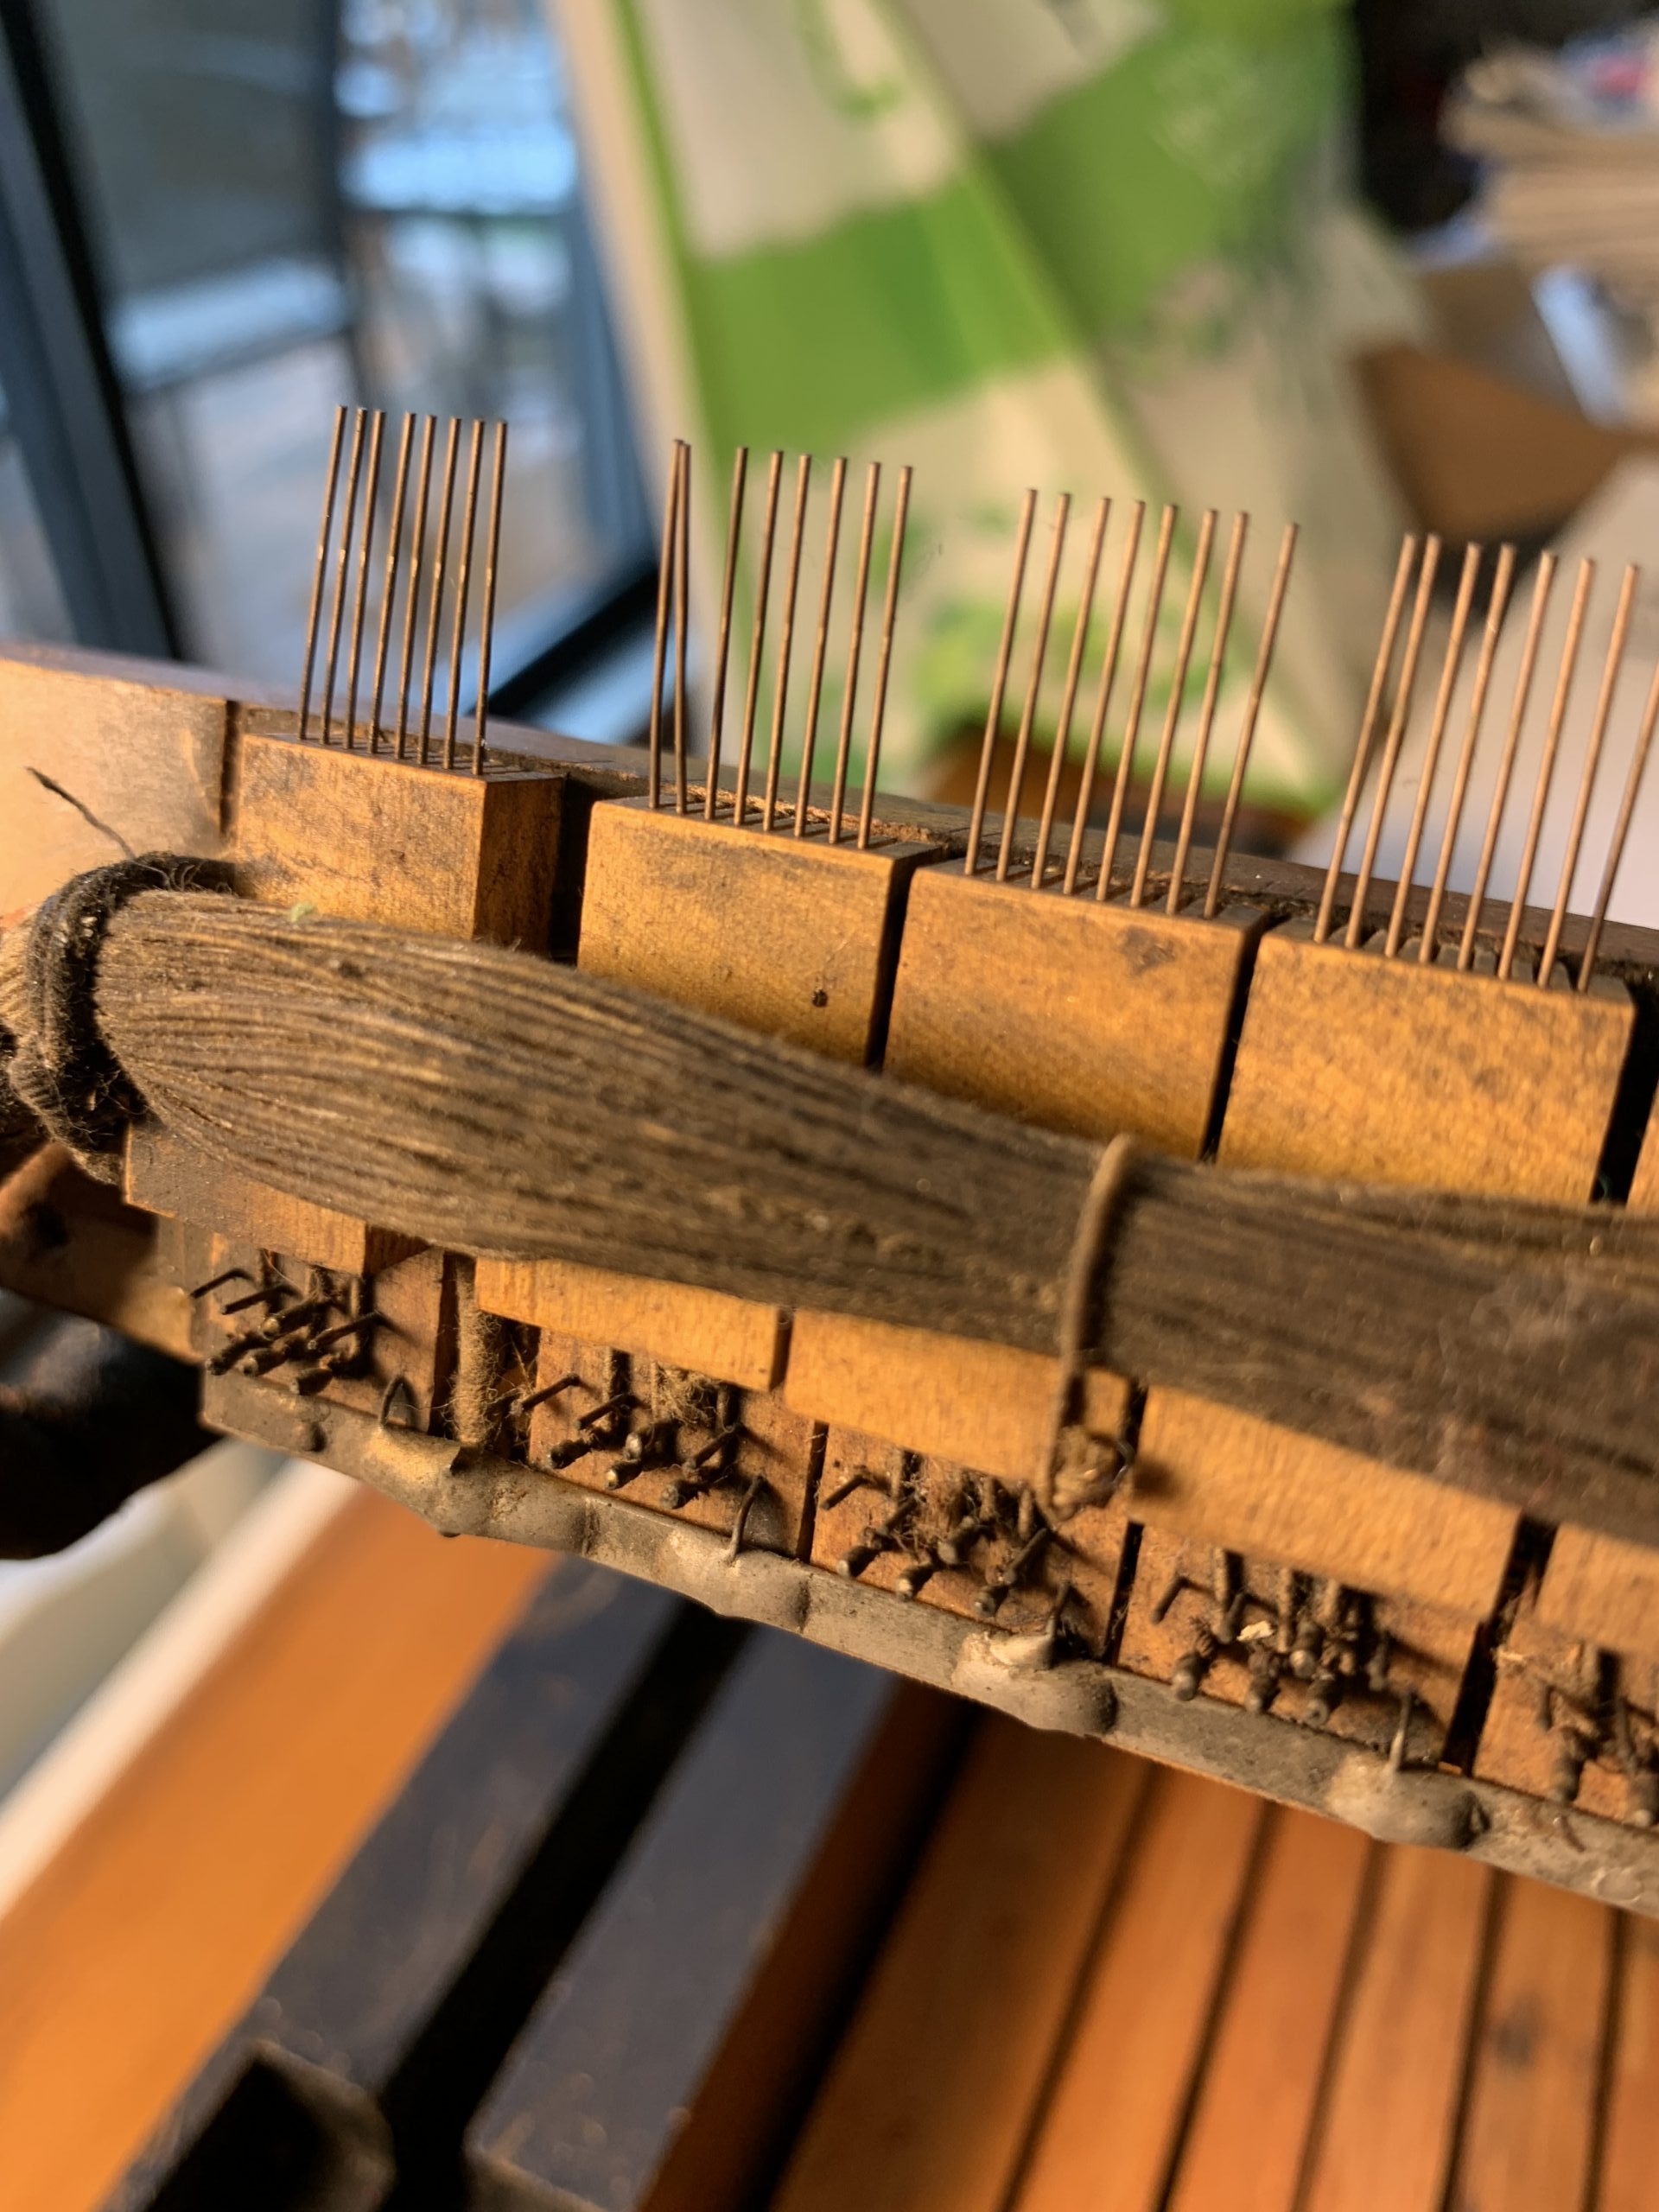
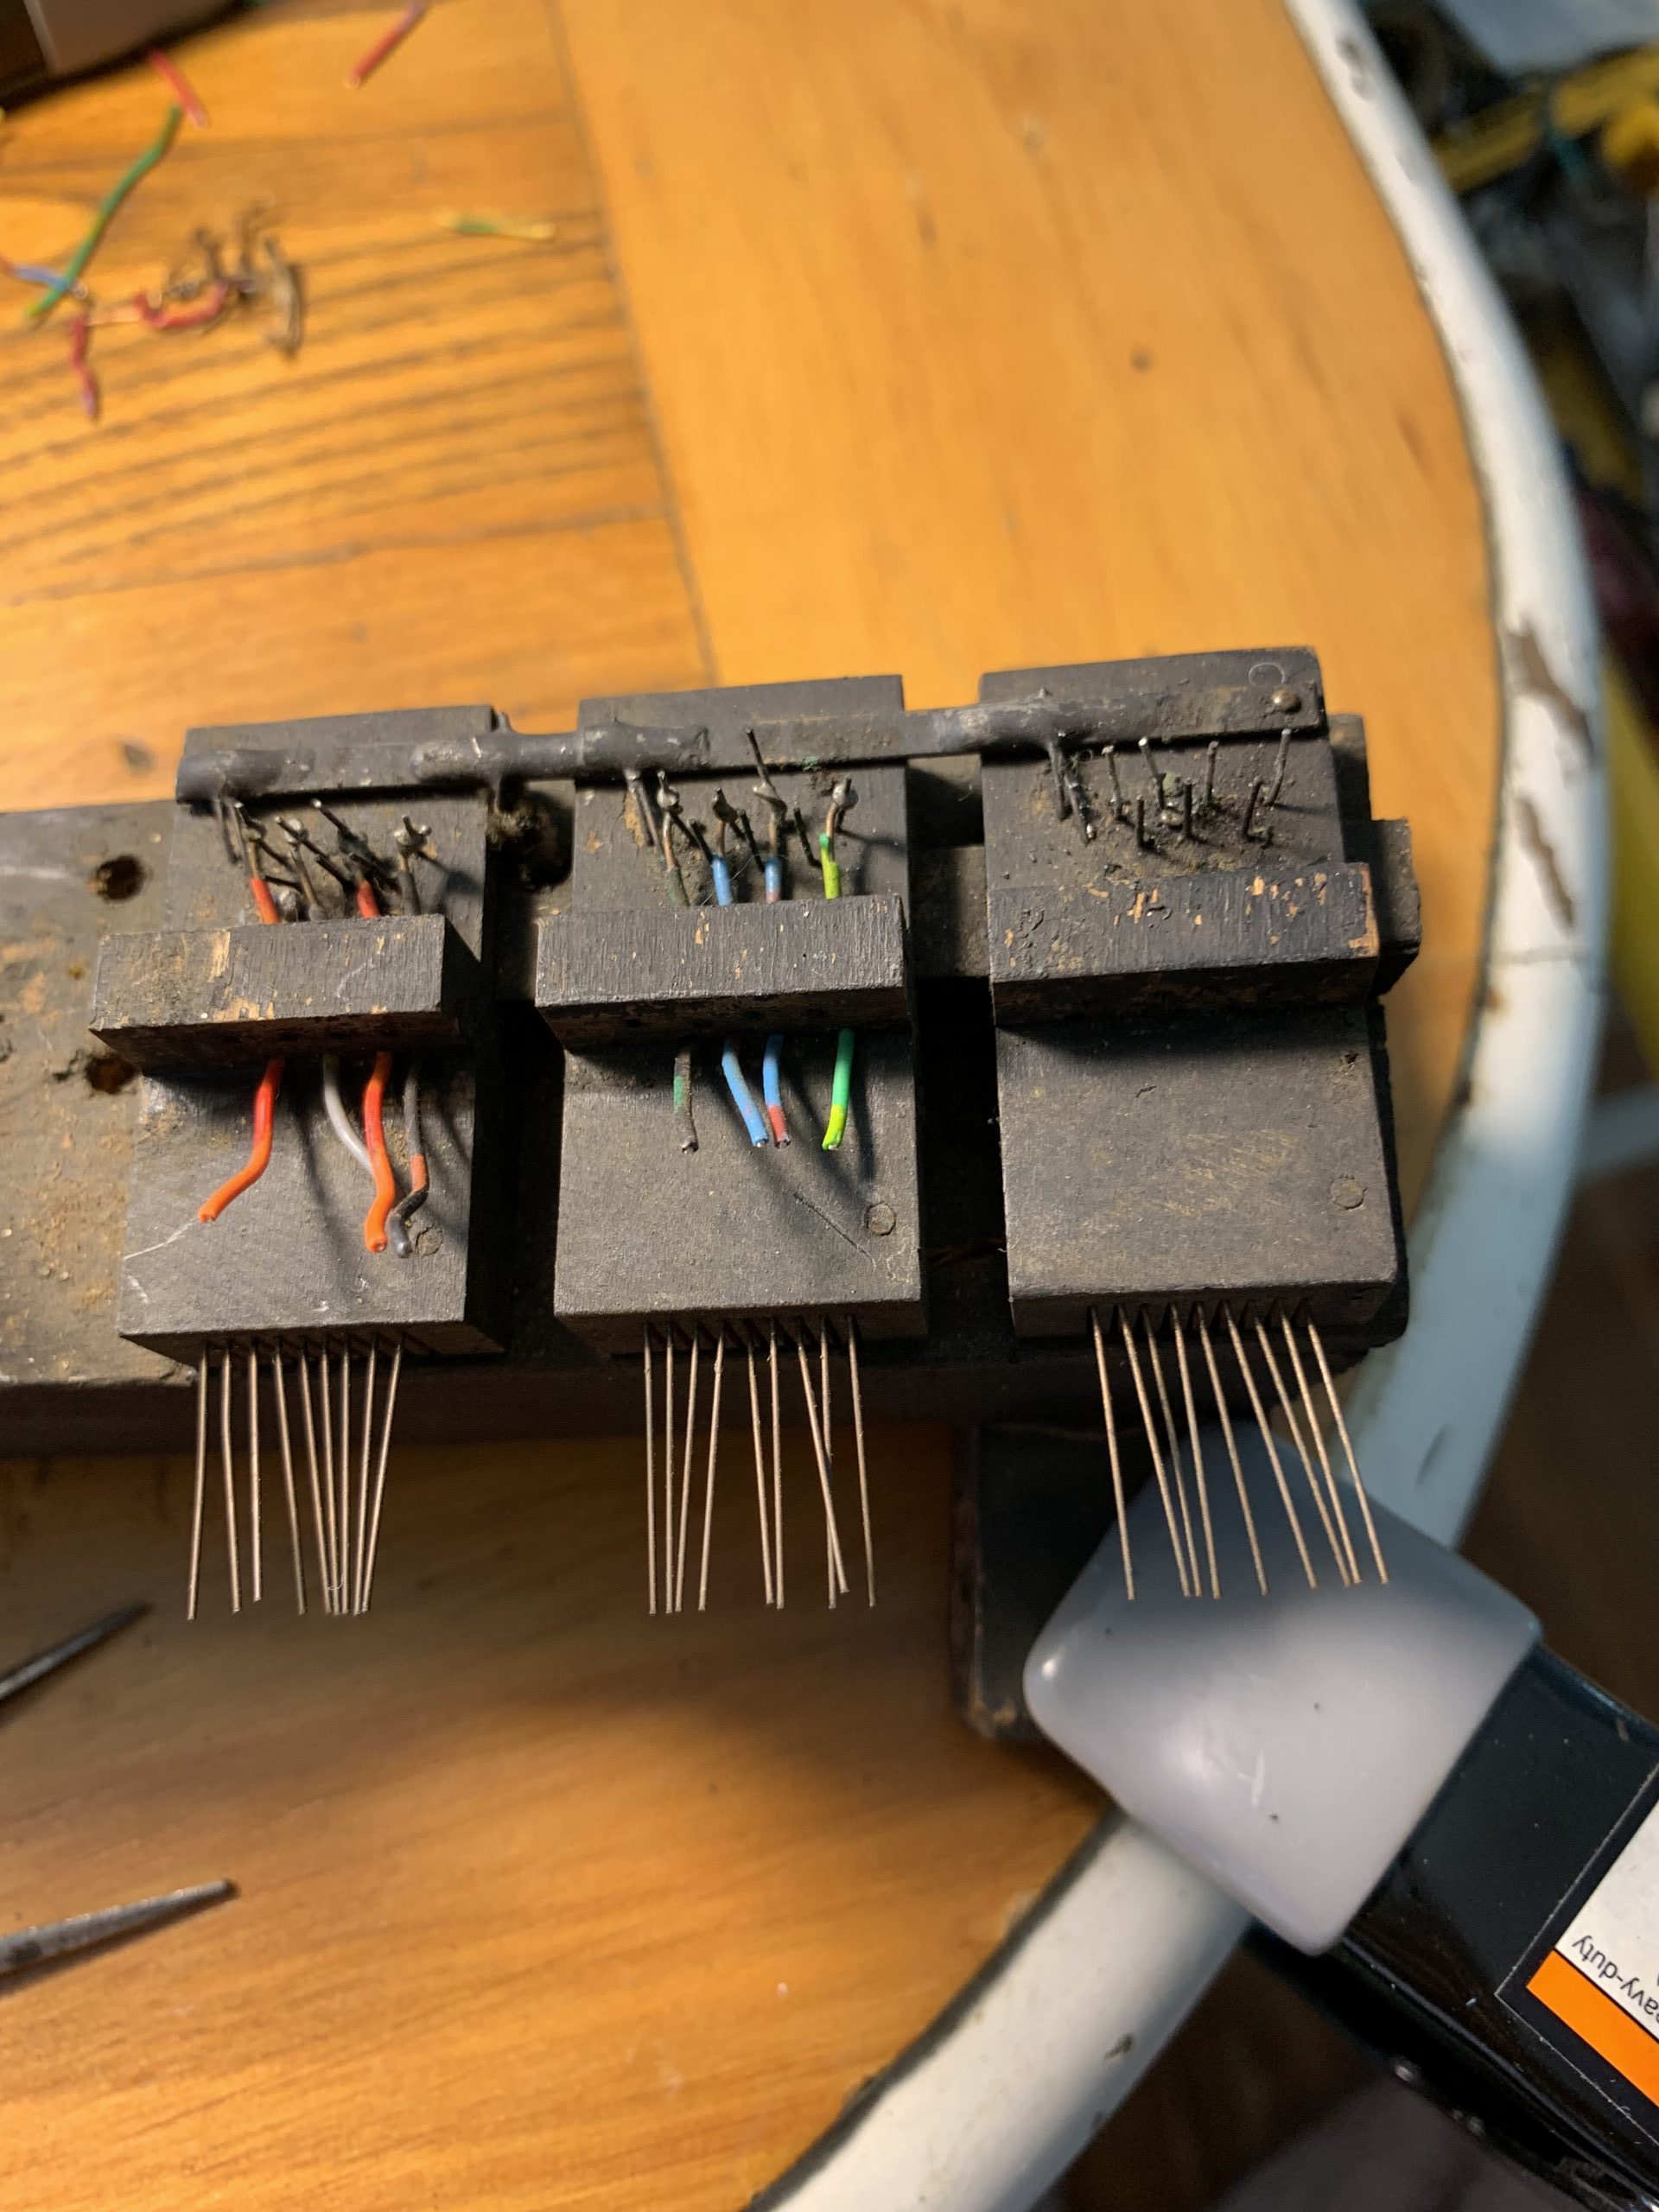
Contactor bar removed, showing individual blocks, old cable, contact pins (to be unsoldered, cleaned, and rewired, and common bar at the bottom – note the tiny common wire soldered to the latter. No breakage, please!
Removal of old cable revealed that the cable and common bar were the ONLY things holding each block in place. Be careful!
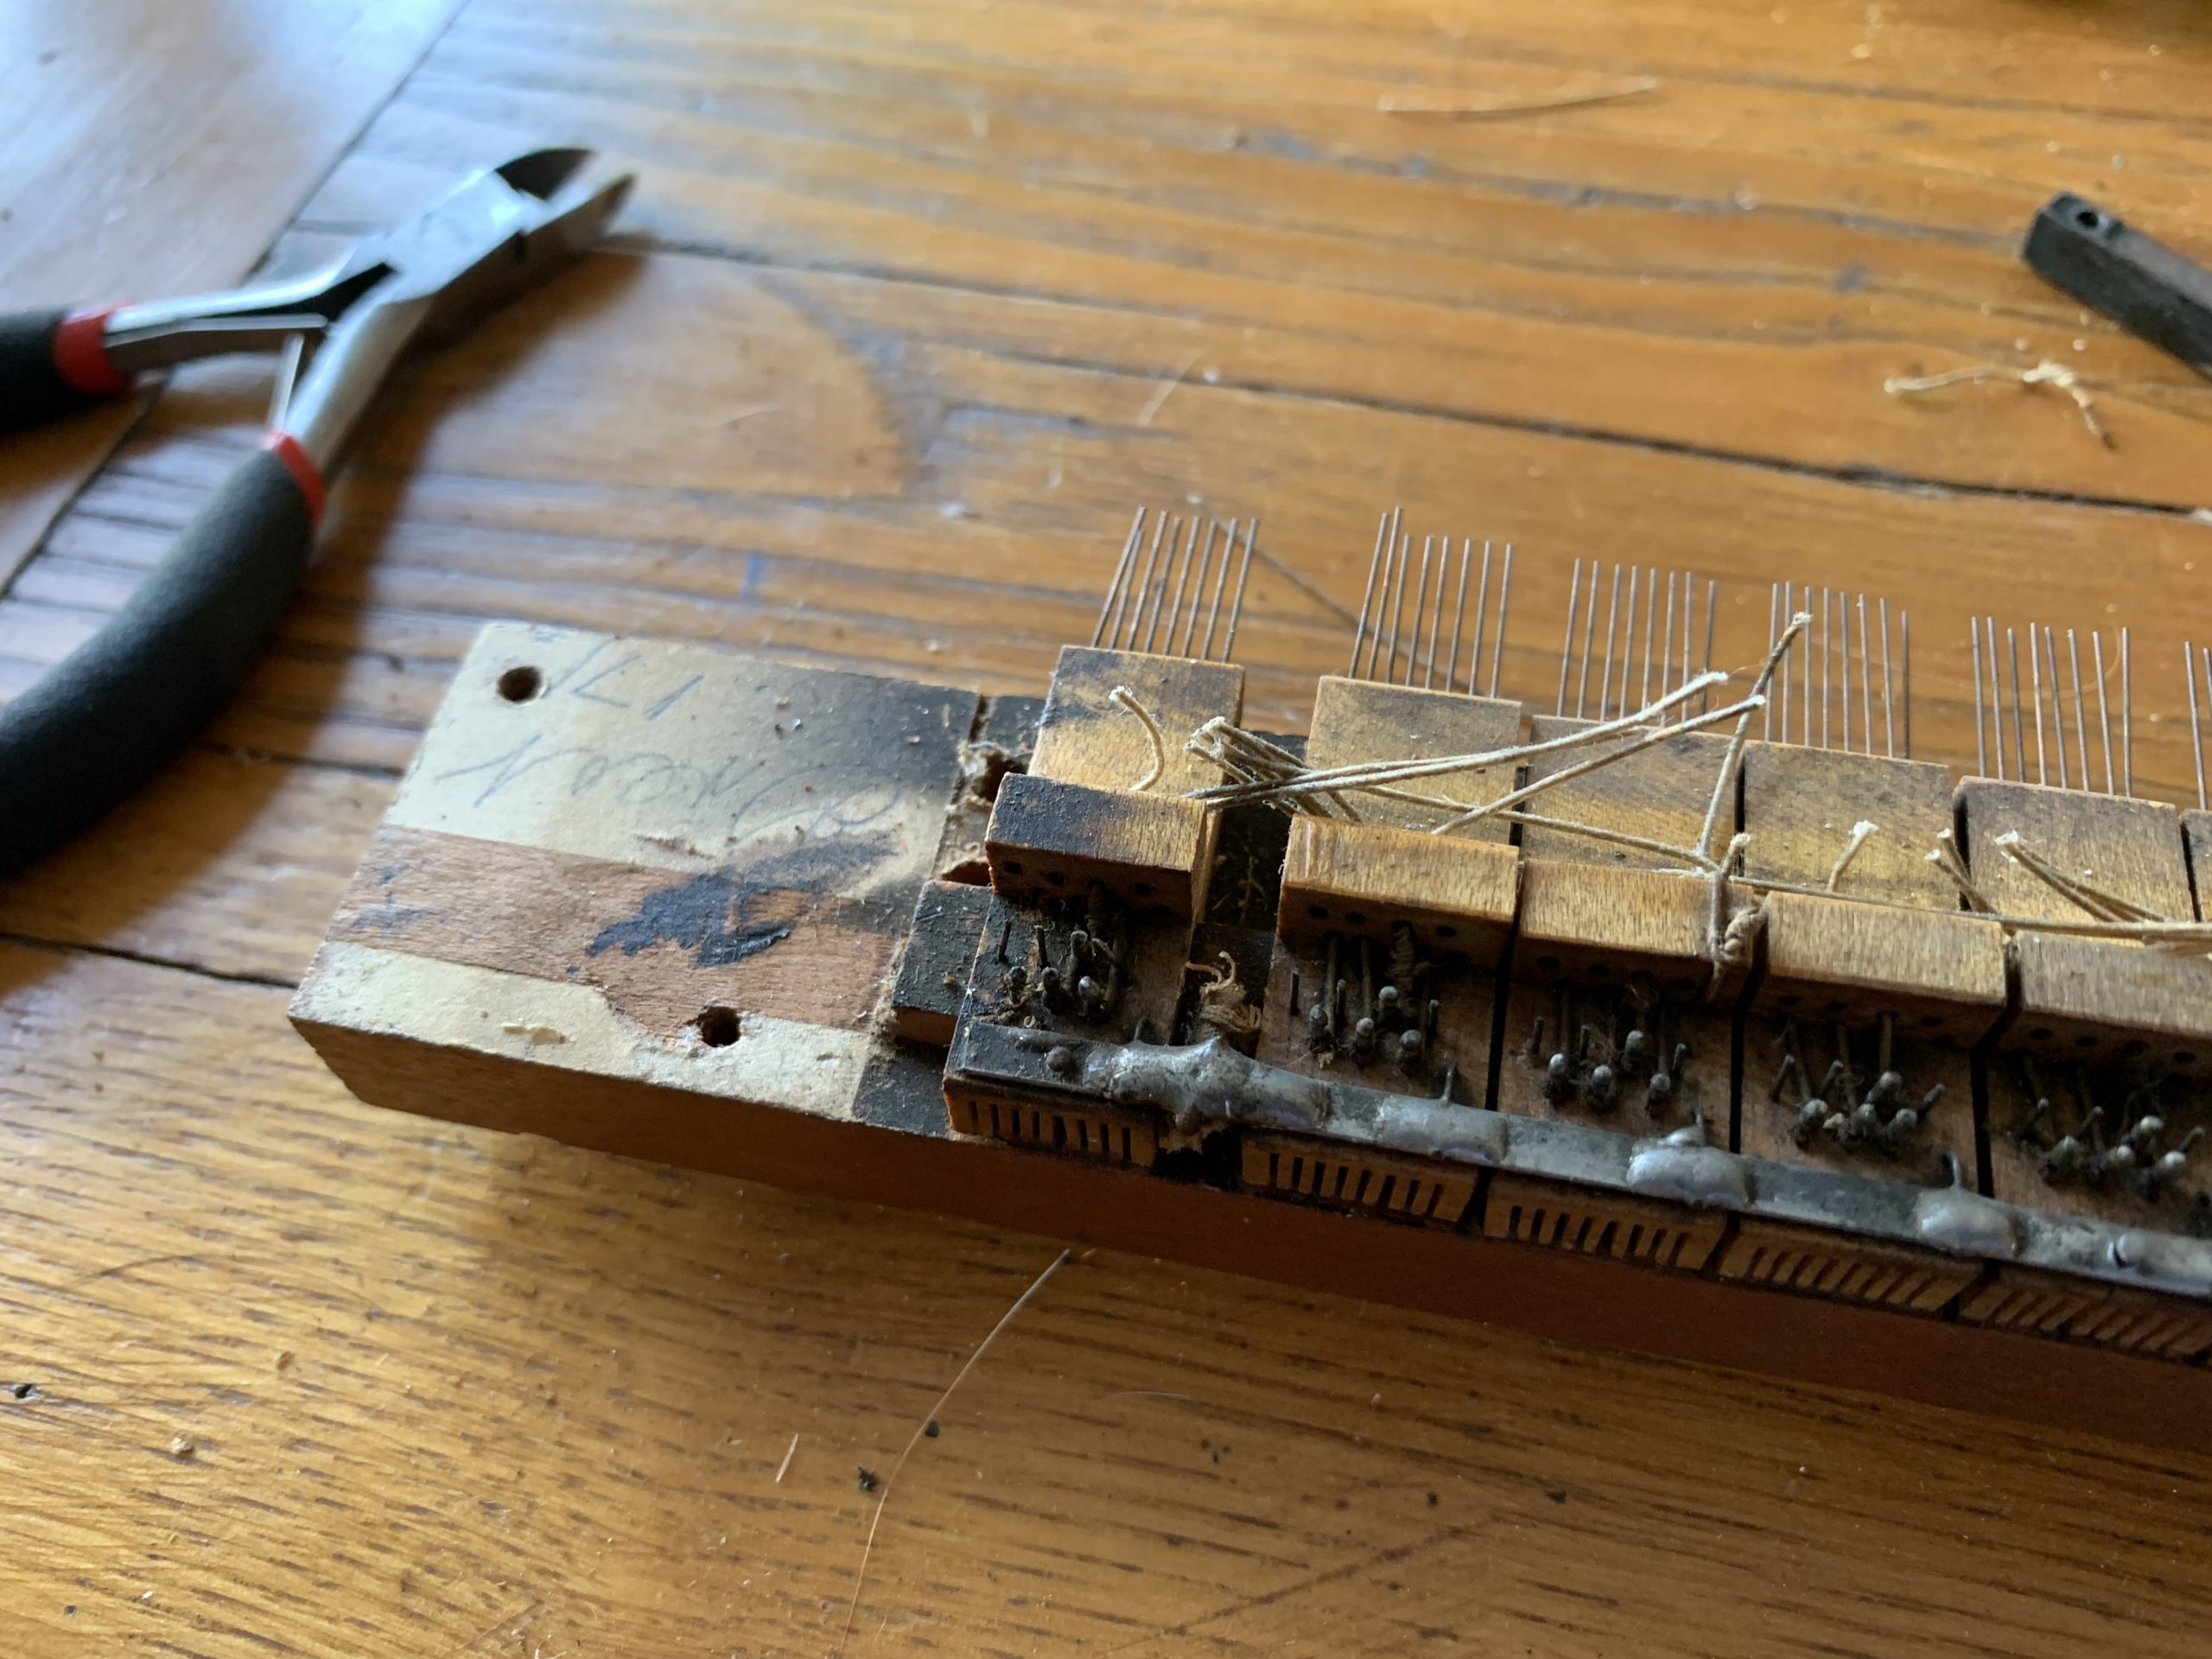
Desoldering and unlooping each individual wire (4 per block). I needed two pairs of reading glasses.

Before and after cleaning and burnishing of individual contact wires. Critical process for old tarnished wires that would never make reliable contact.
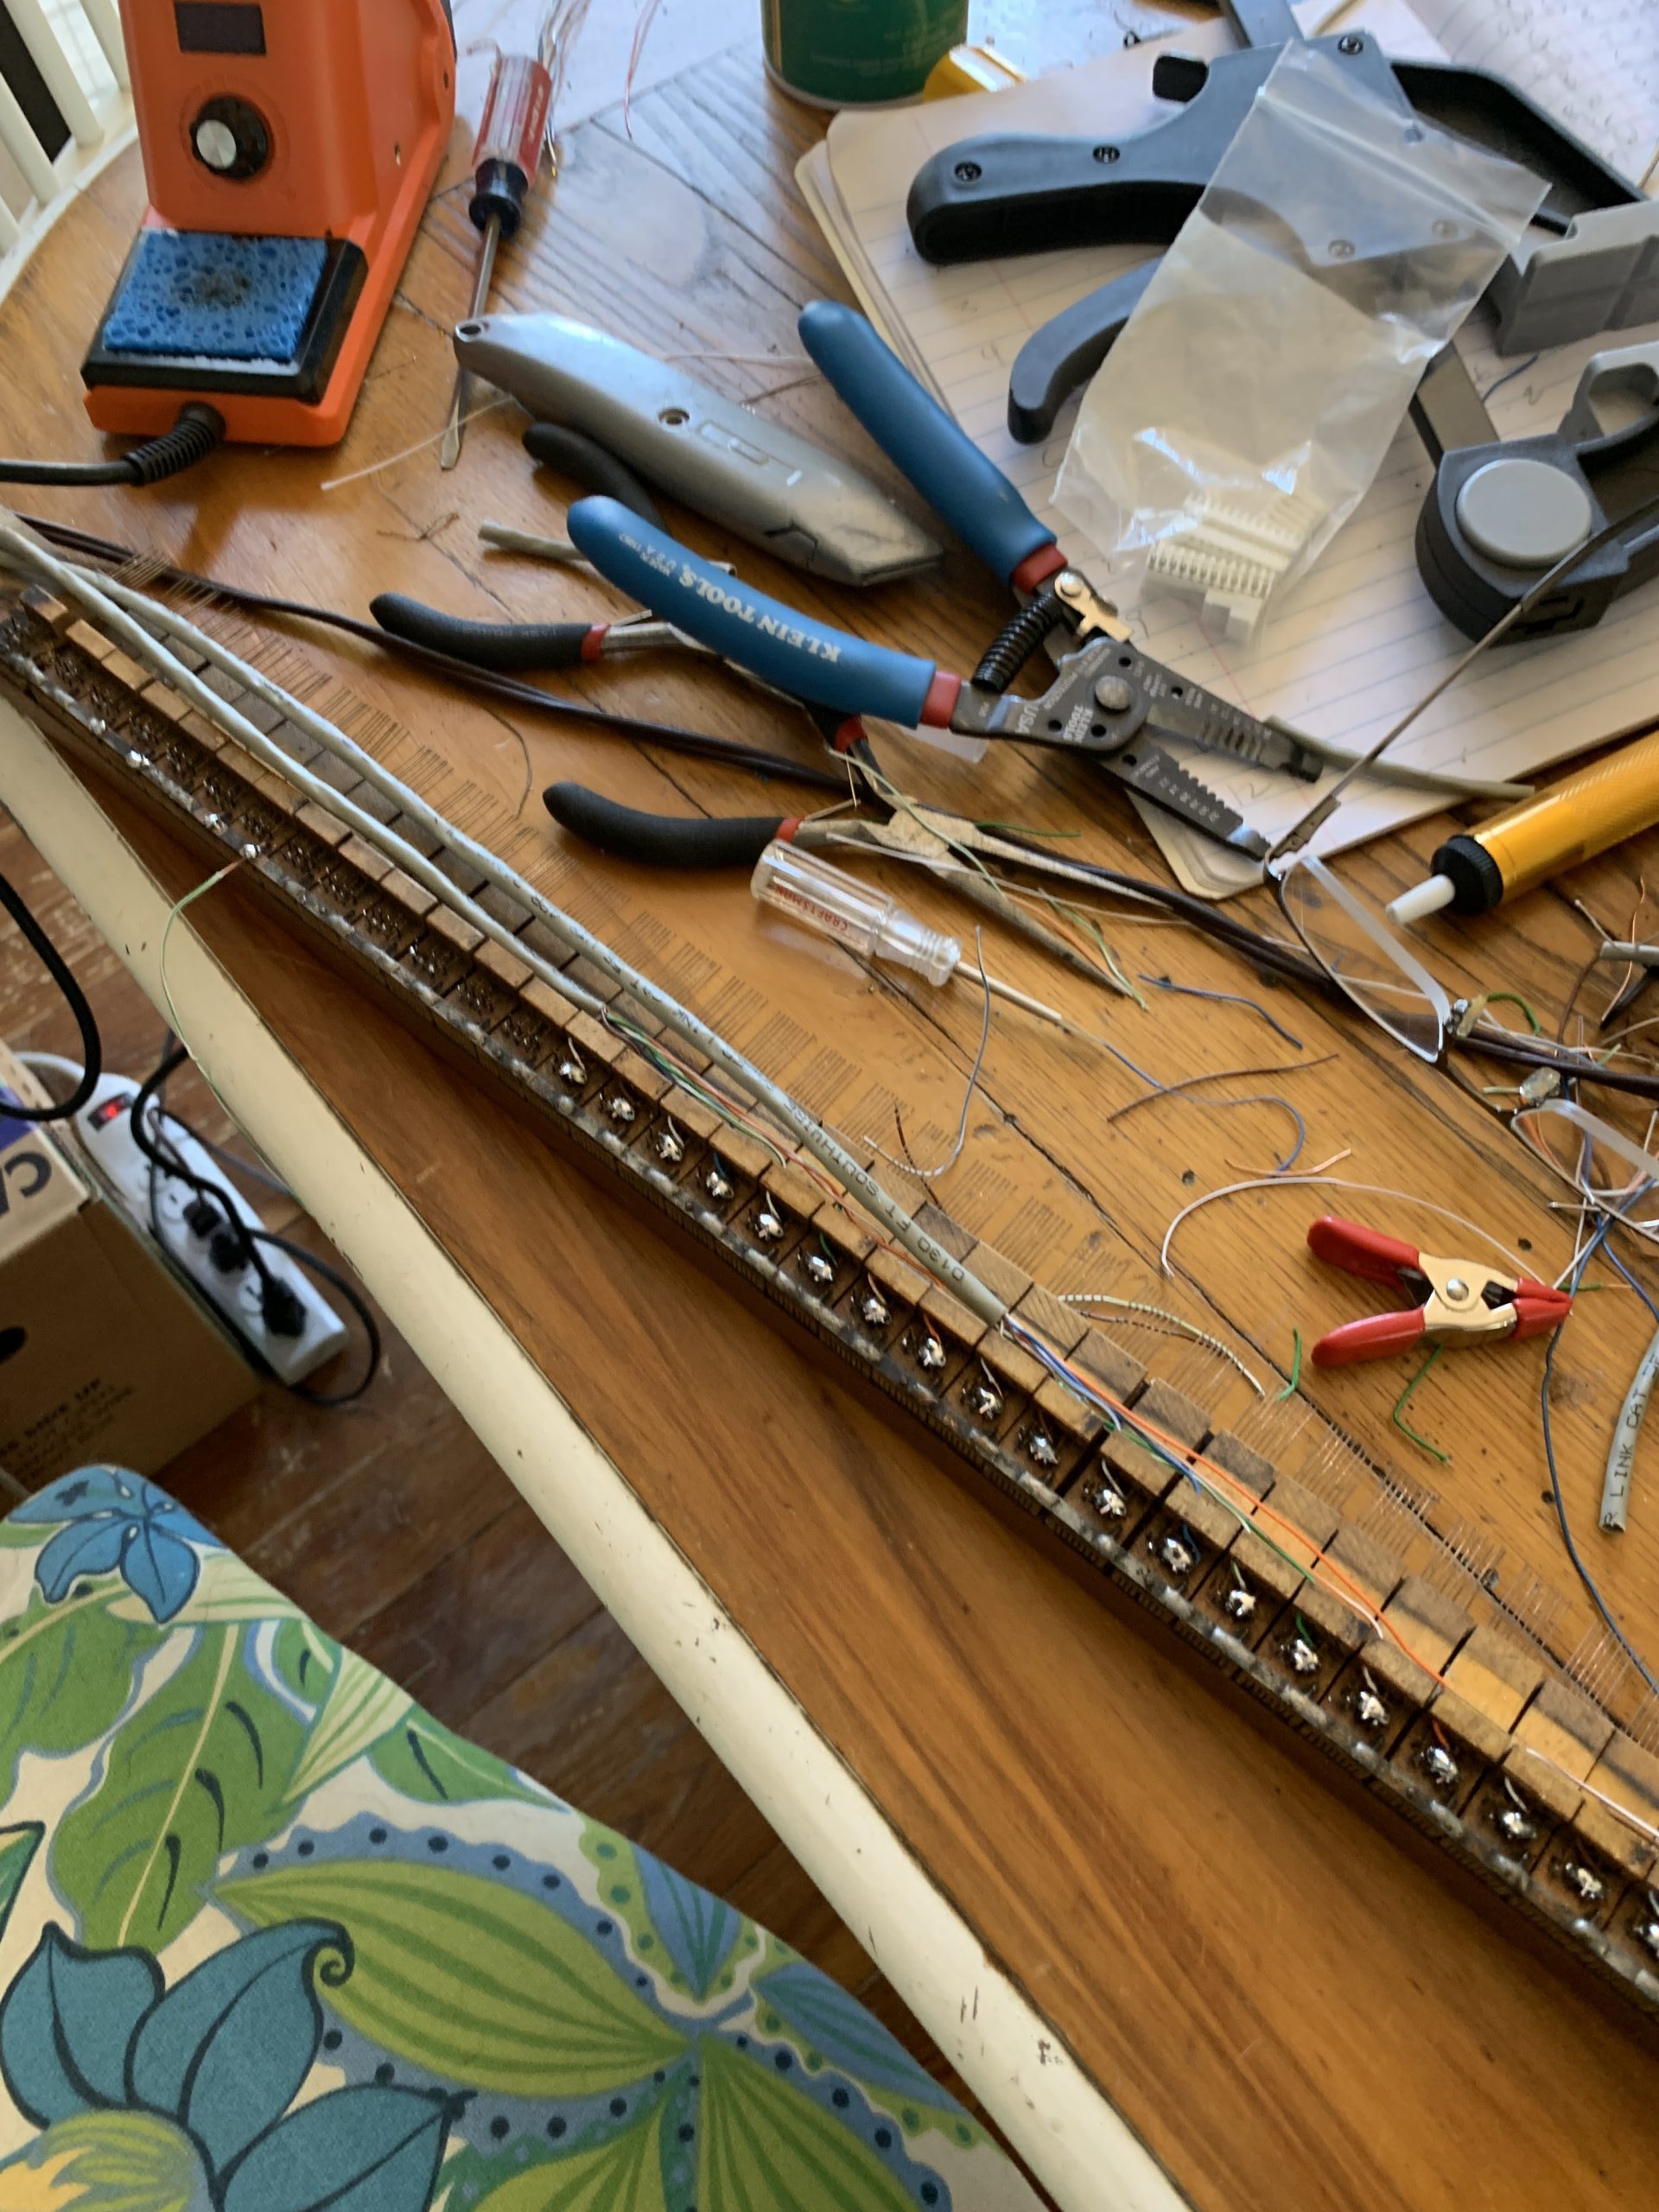
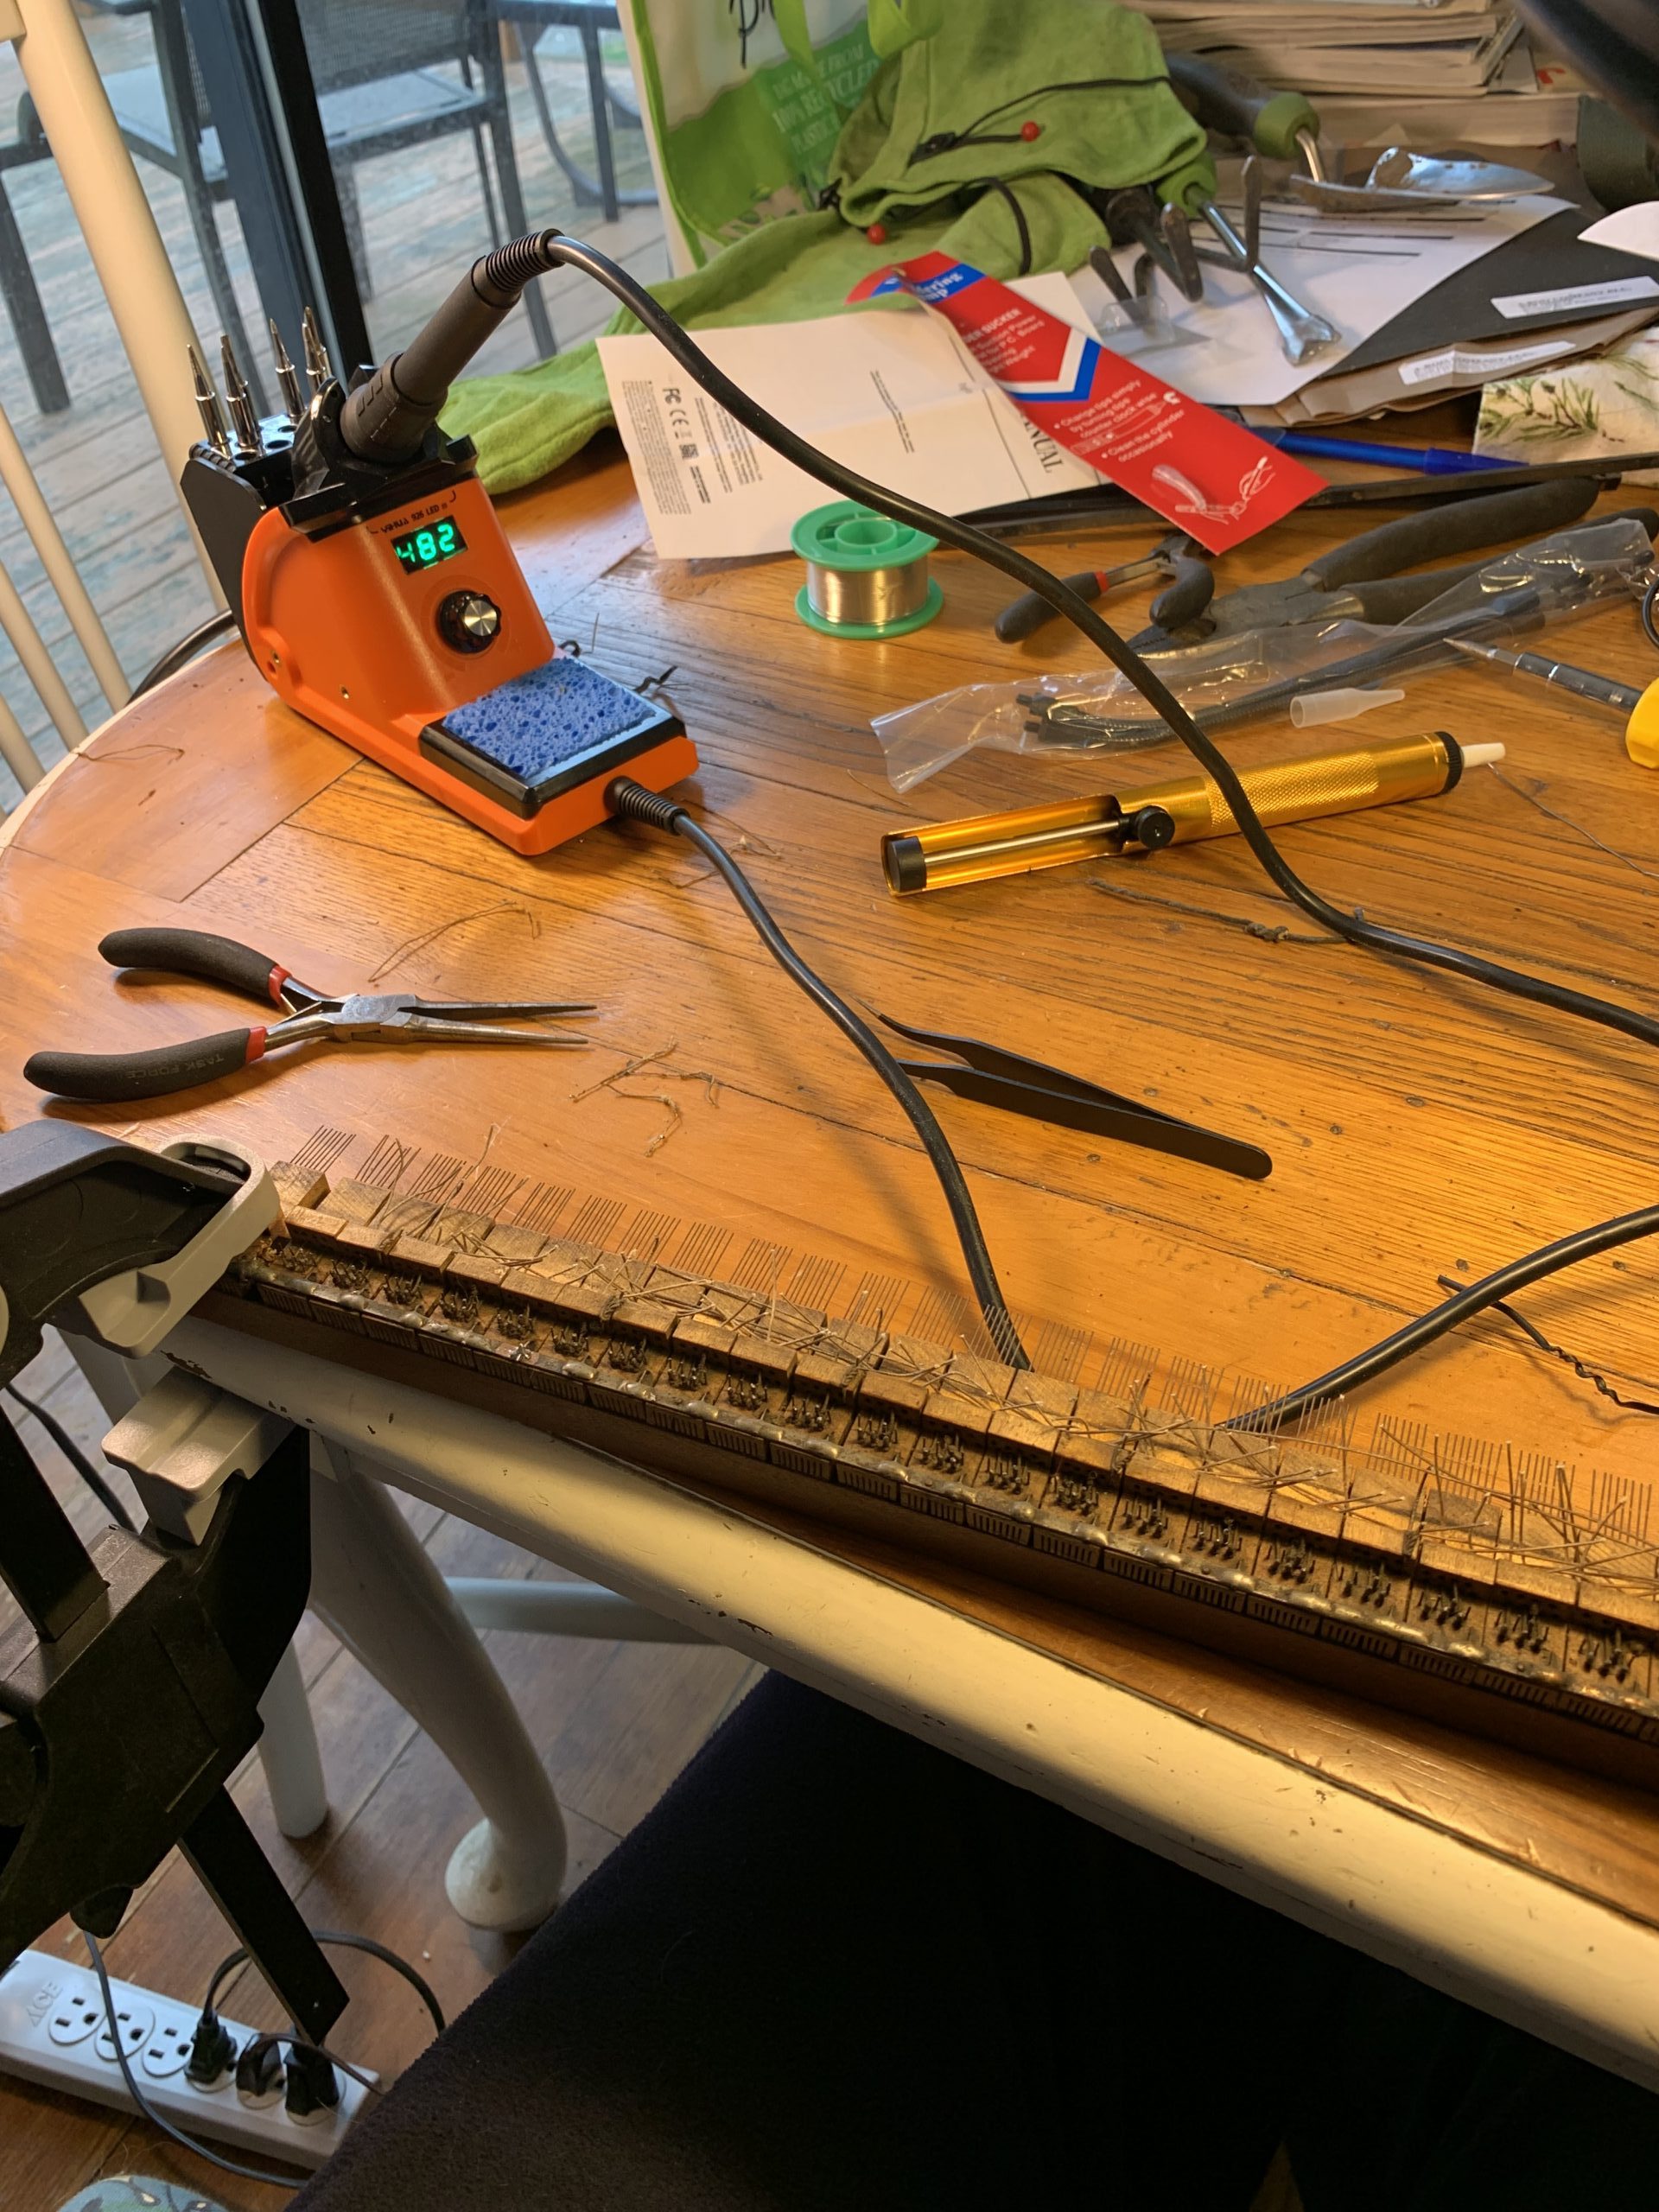
Rewiring with Cat-5. I looped the primary wire around 3 contact pins for redundancy, and made a large solder joint on all. Color coding of the wires was very important for maintaining the correct order of notes.
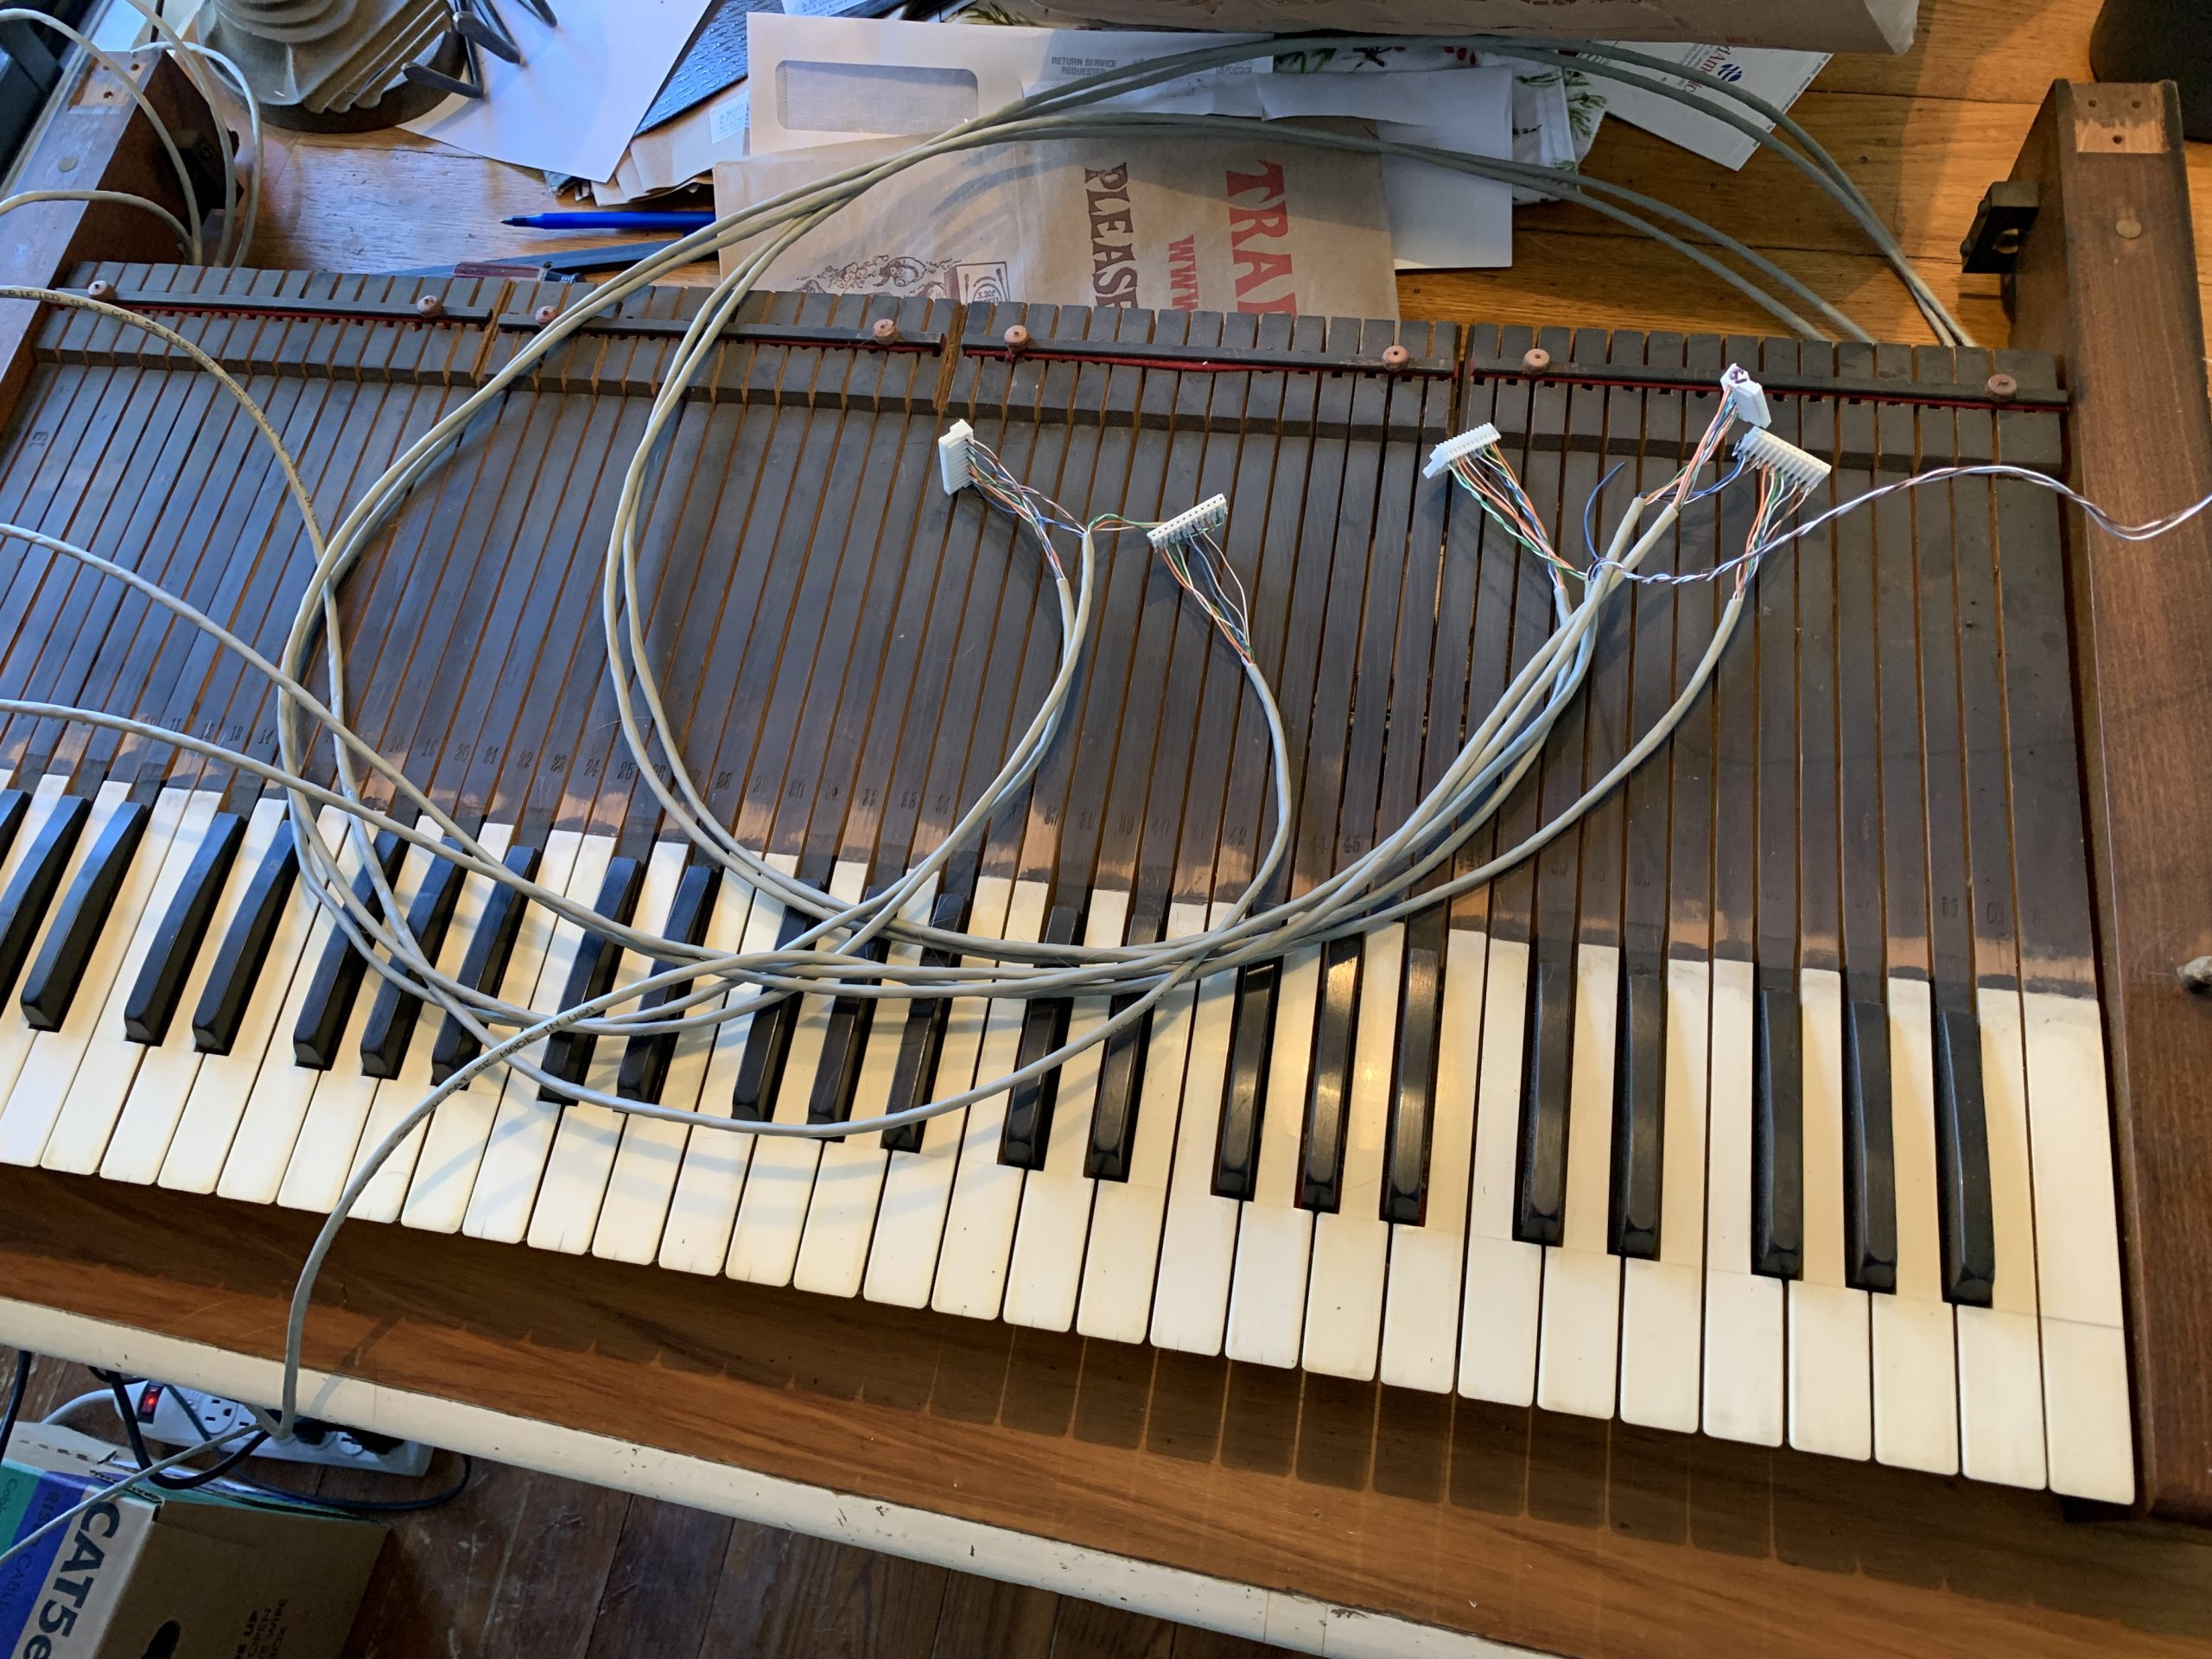
Wiring complete, color code plan used to connect the wires to connectors for the MIDI encoder hardware. Each cable has 8 wires, each connector takes 12 wires, making it an interesting configuration challenge. Also, I had to have half of the cabling come out of each end of the keyboard so that the cable would not be so thick that it would interrupt the motion of the keys. A tight space!
First Test! A successful moment, although problems ensued when several notes ciphered or were dead. Swapping plugs on the DTS encoder board seemed to correct the problem (but the result of that is octaves playing in the wrong place!), and then the problems seemed to disappear temporarily when swapped back. Either an electronic problem with the DTS encoder boards, or solder flakes crossing wires could be at play.
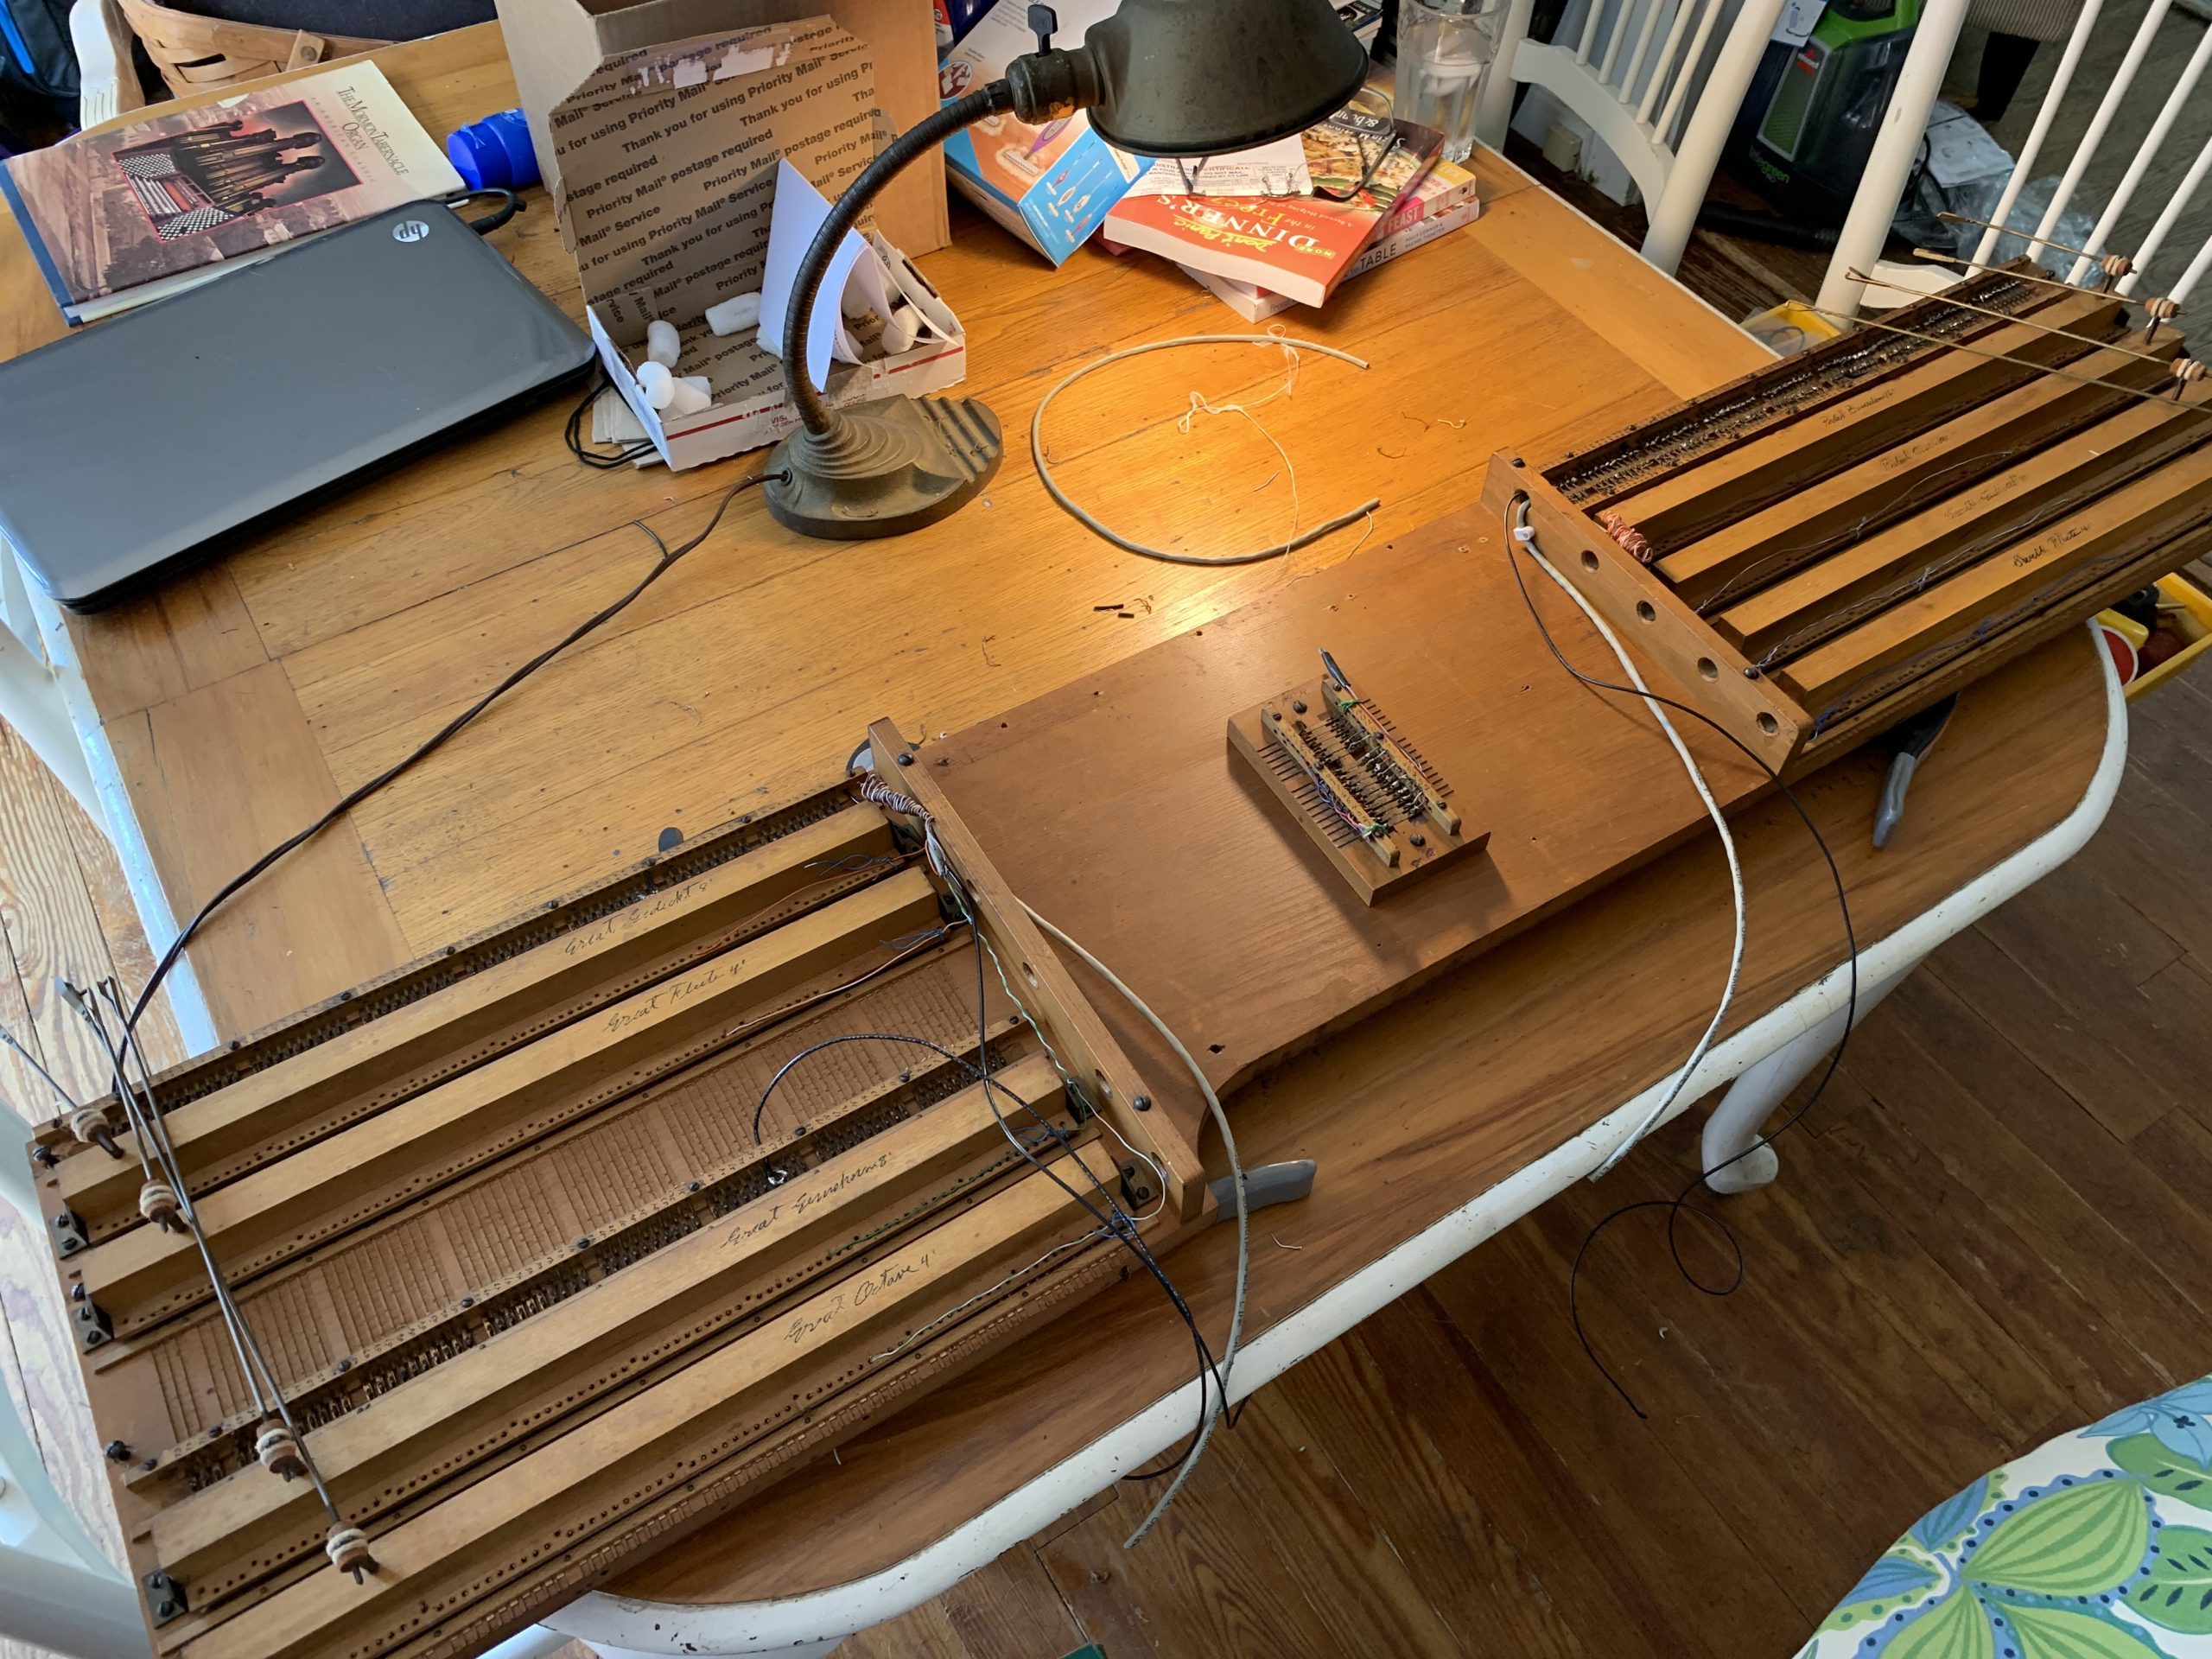
This is a great demonstration of the whole setup, out on the table:
- Organ keyboards make contact for each note
- Signal is sent to the DTS MIDI encoder board, which converts the signal to MIDI
- MIDI interface transmits that information to computer via USB
- GrandOrgue software uses that information to “play” the organ sample set (in this case Friesach, Vienna).
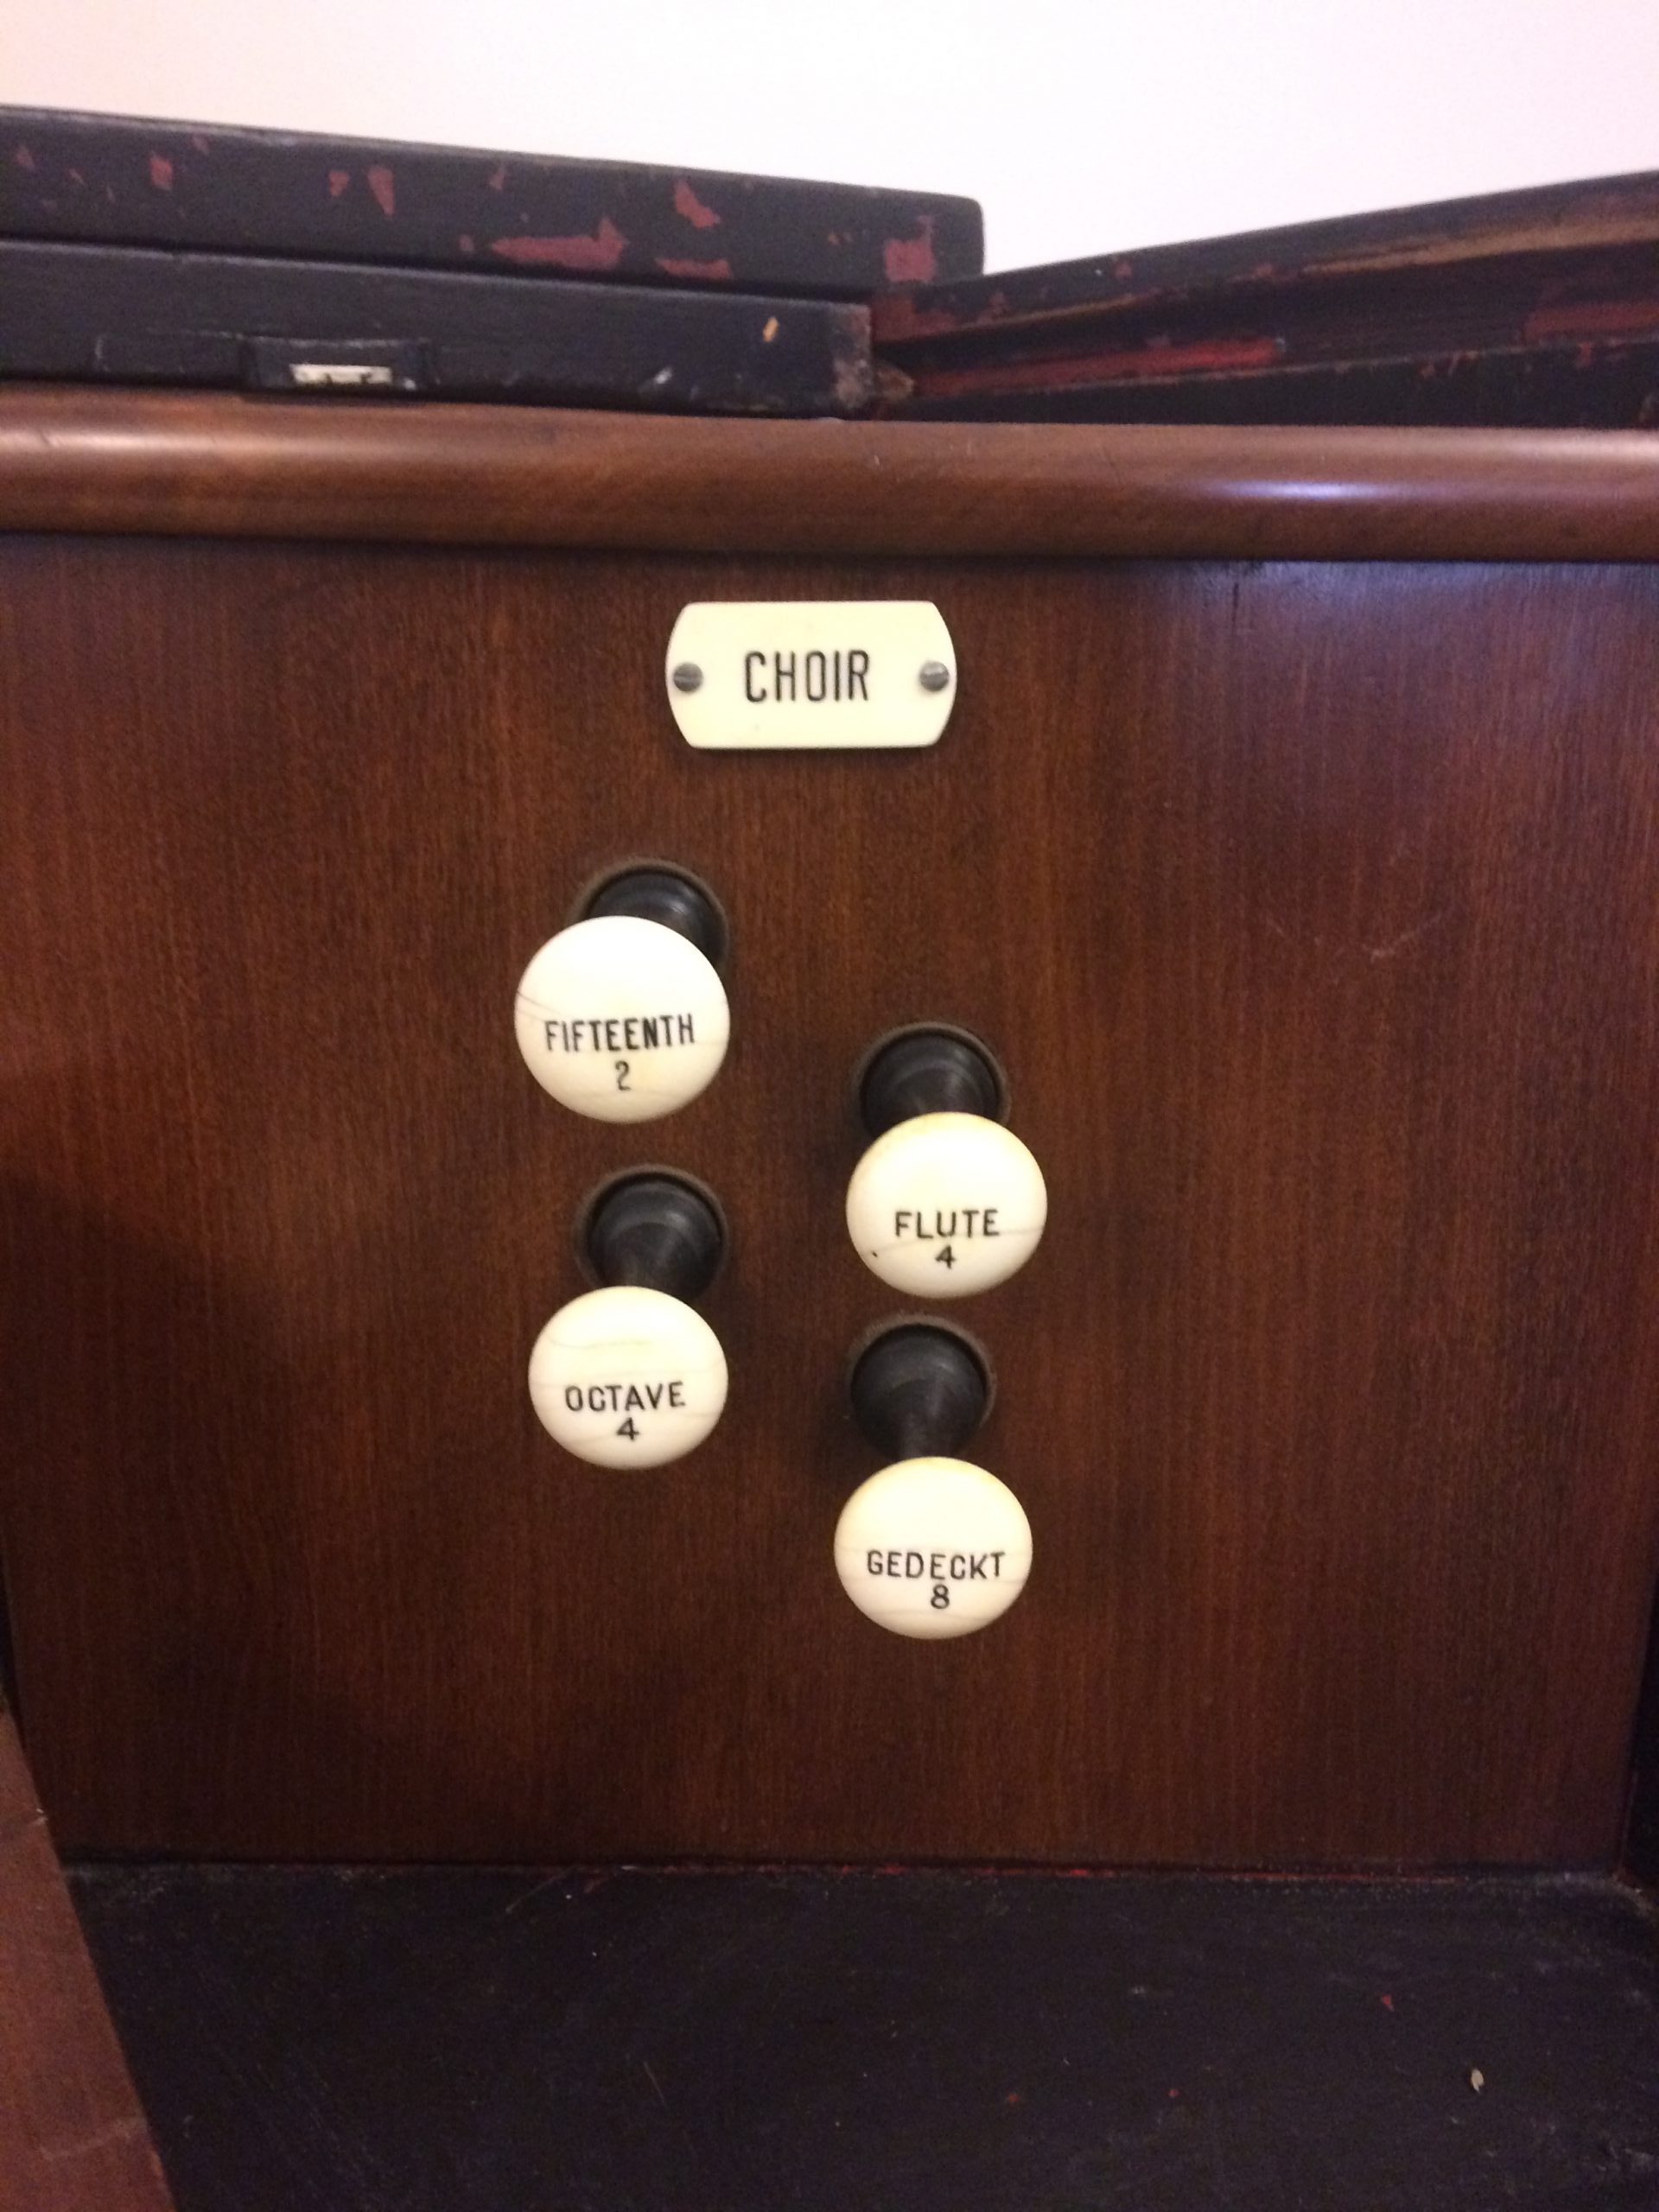
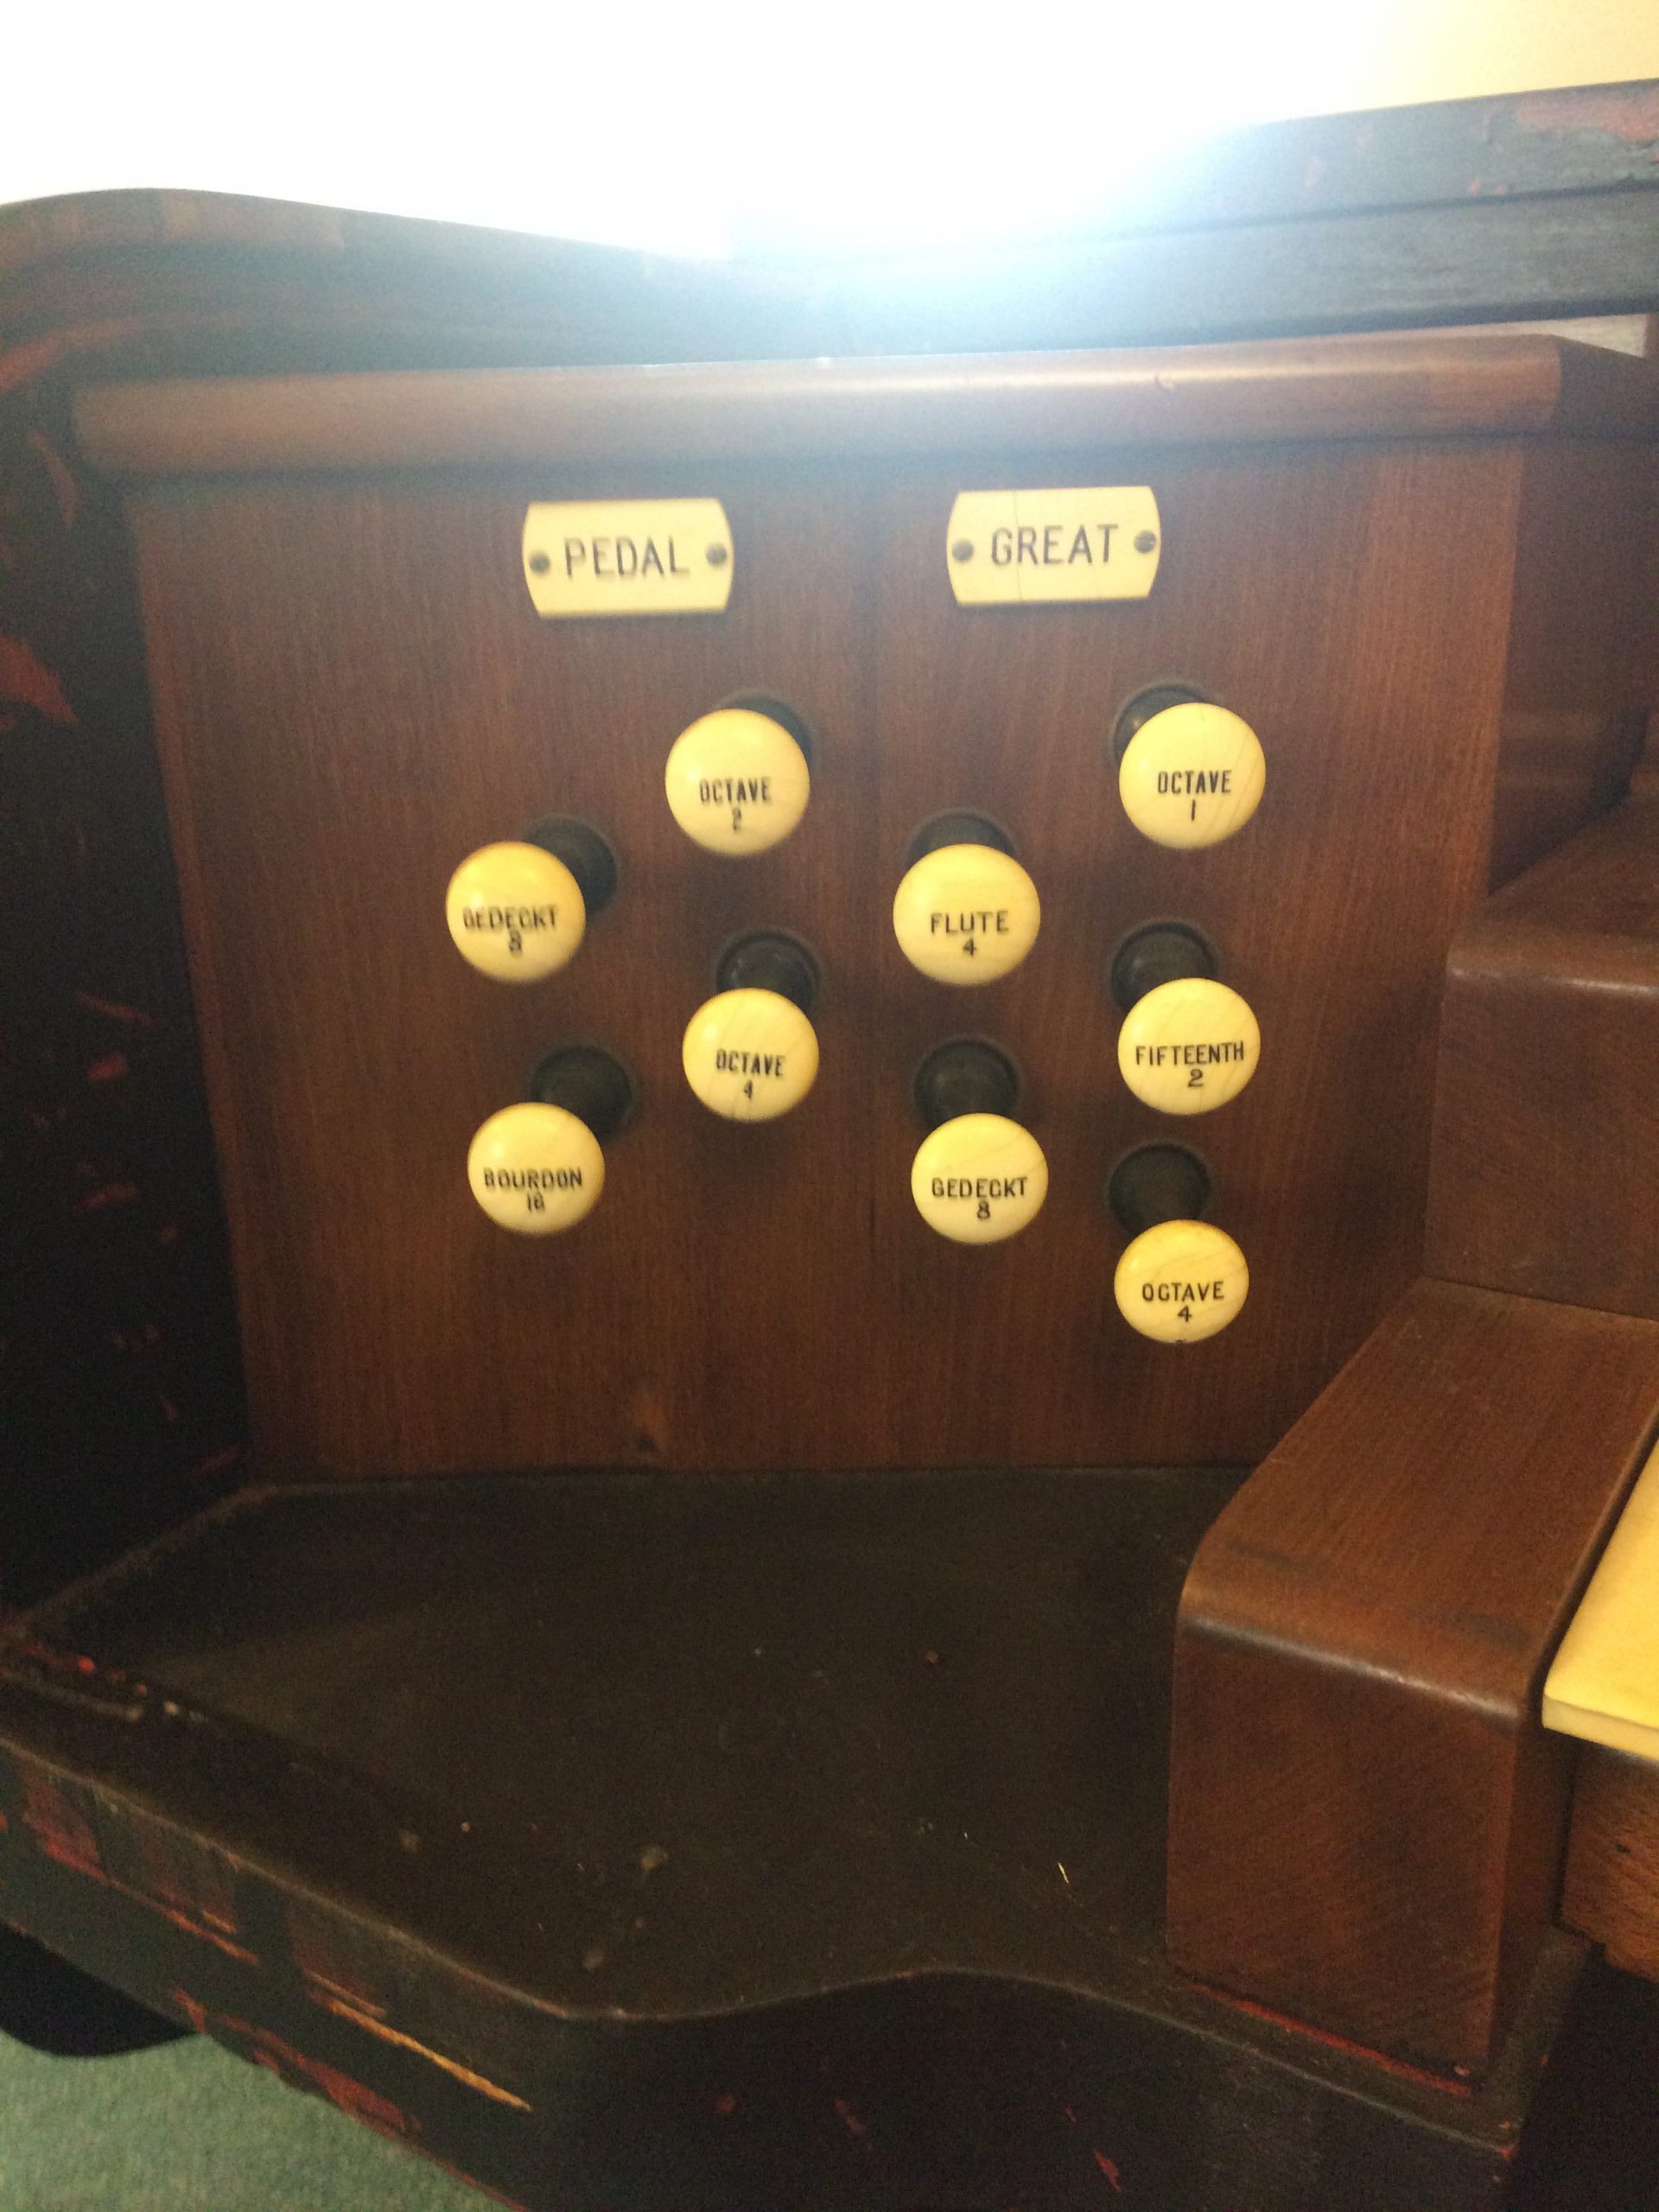
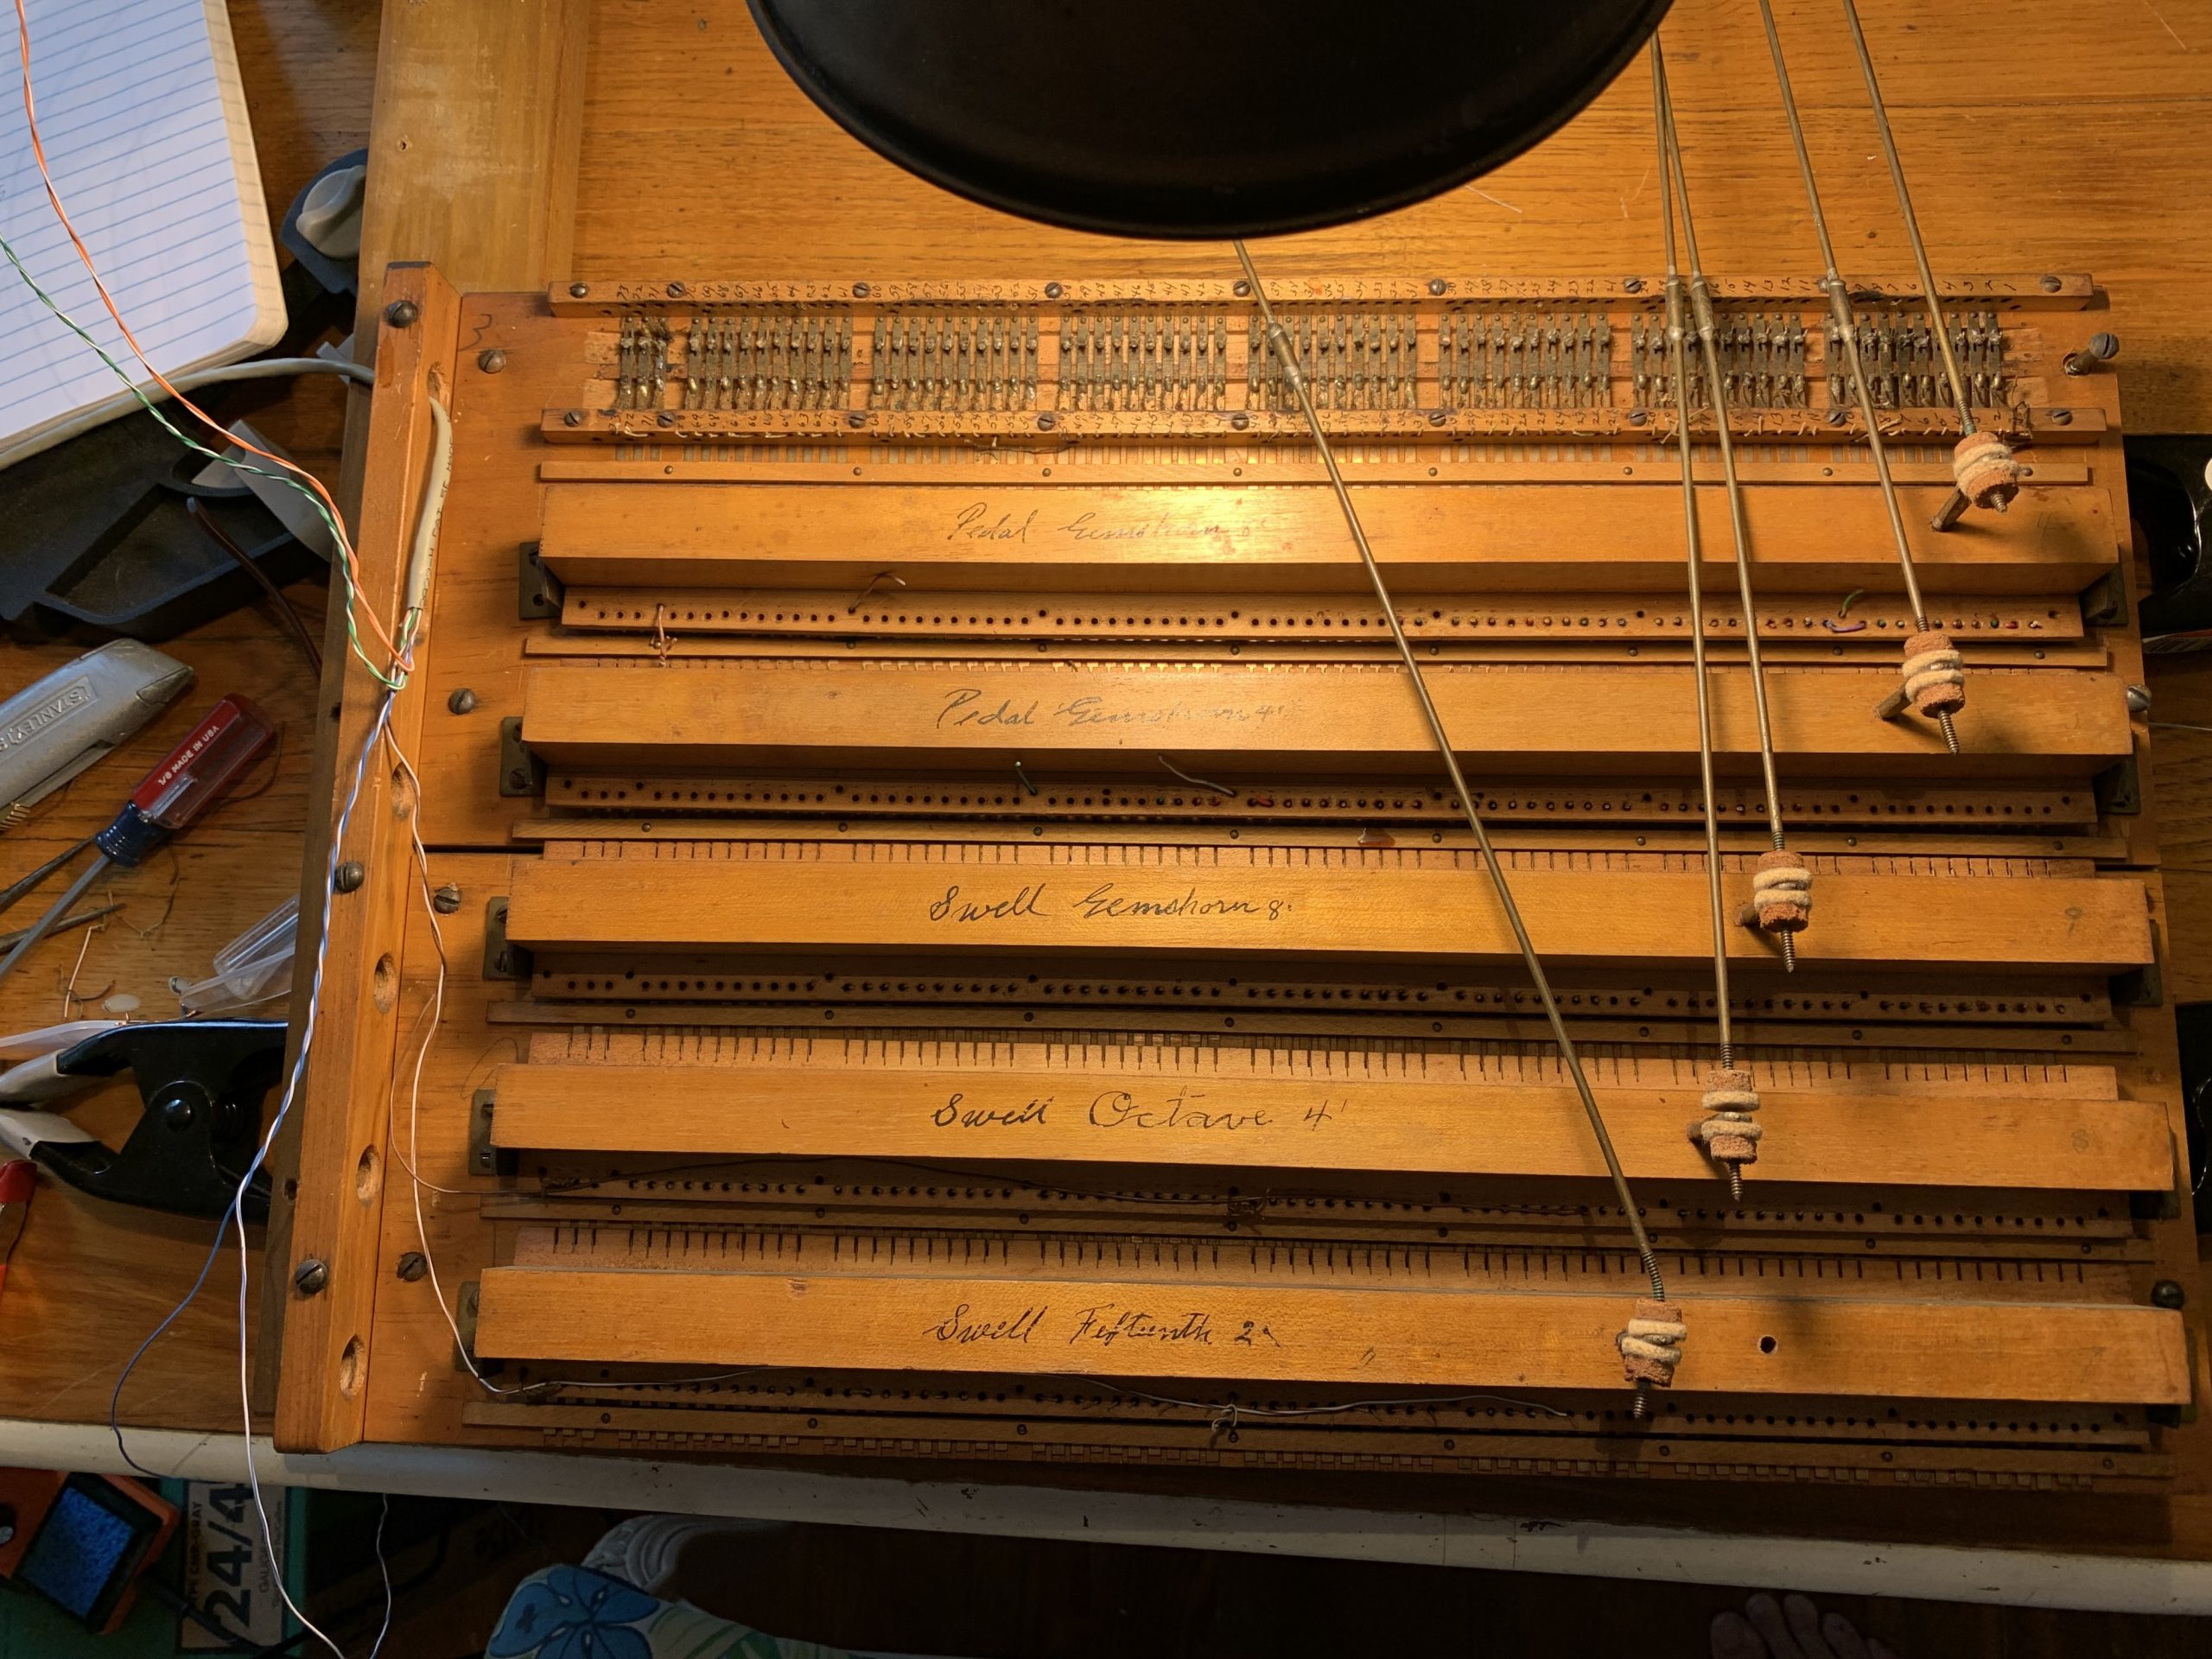
The rewiring of the manuals was grueling, along with burnishing of all the key contacts, so I took a little break from that and moved on to the stop controls. With just 13 knobs, it would seem like a snap, but what really is going on is conversion of giant gang switches from 61 wires per stop to just 1. Each knob pulls the switched closed, and in the original installation, that meant connecting individual wires for every key to the pipe valves. In the new installation, only one signal is needed to tell the software to turn the stop on or off.
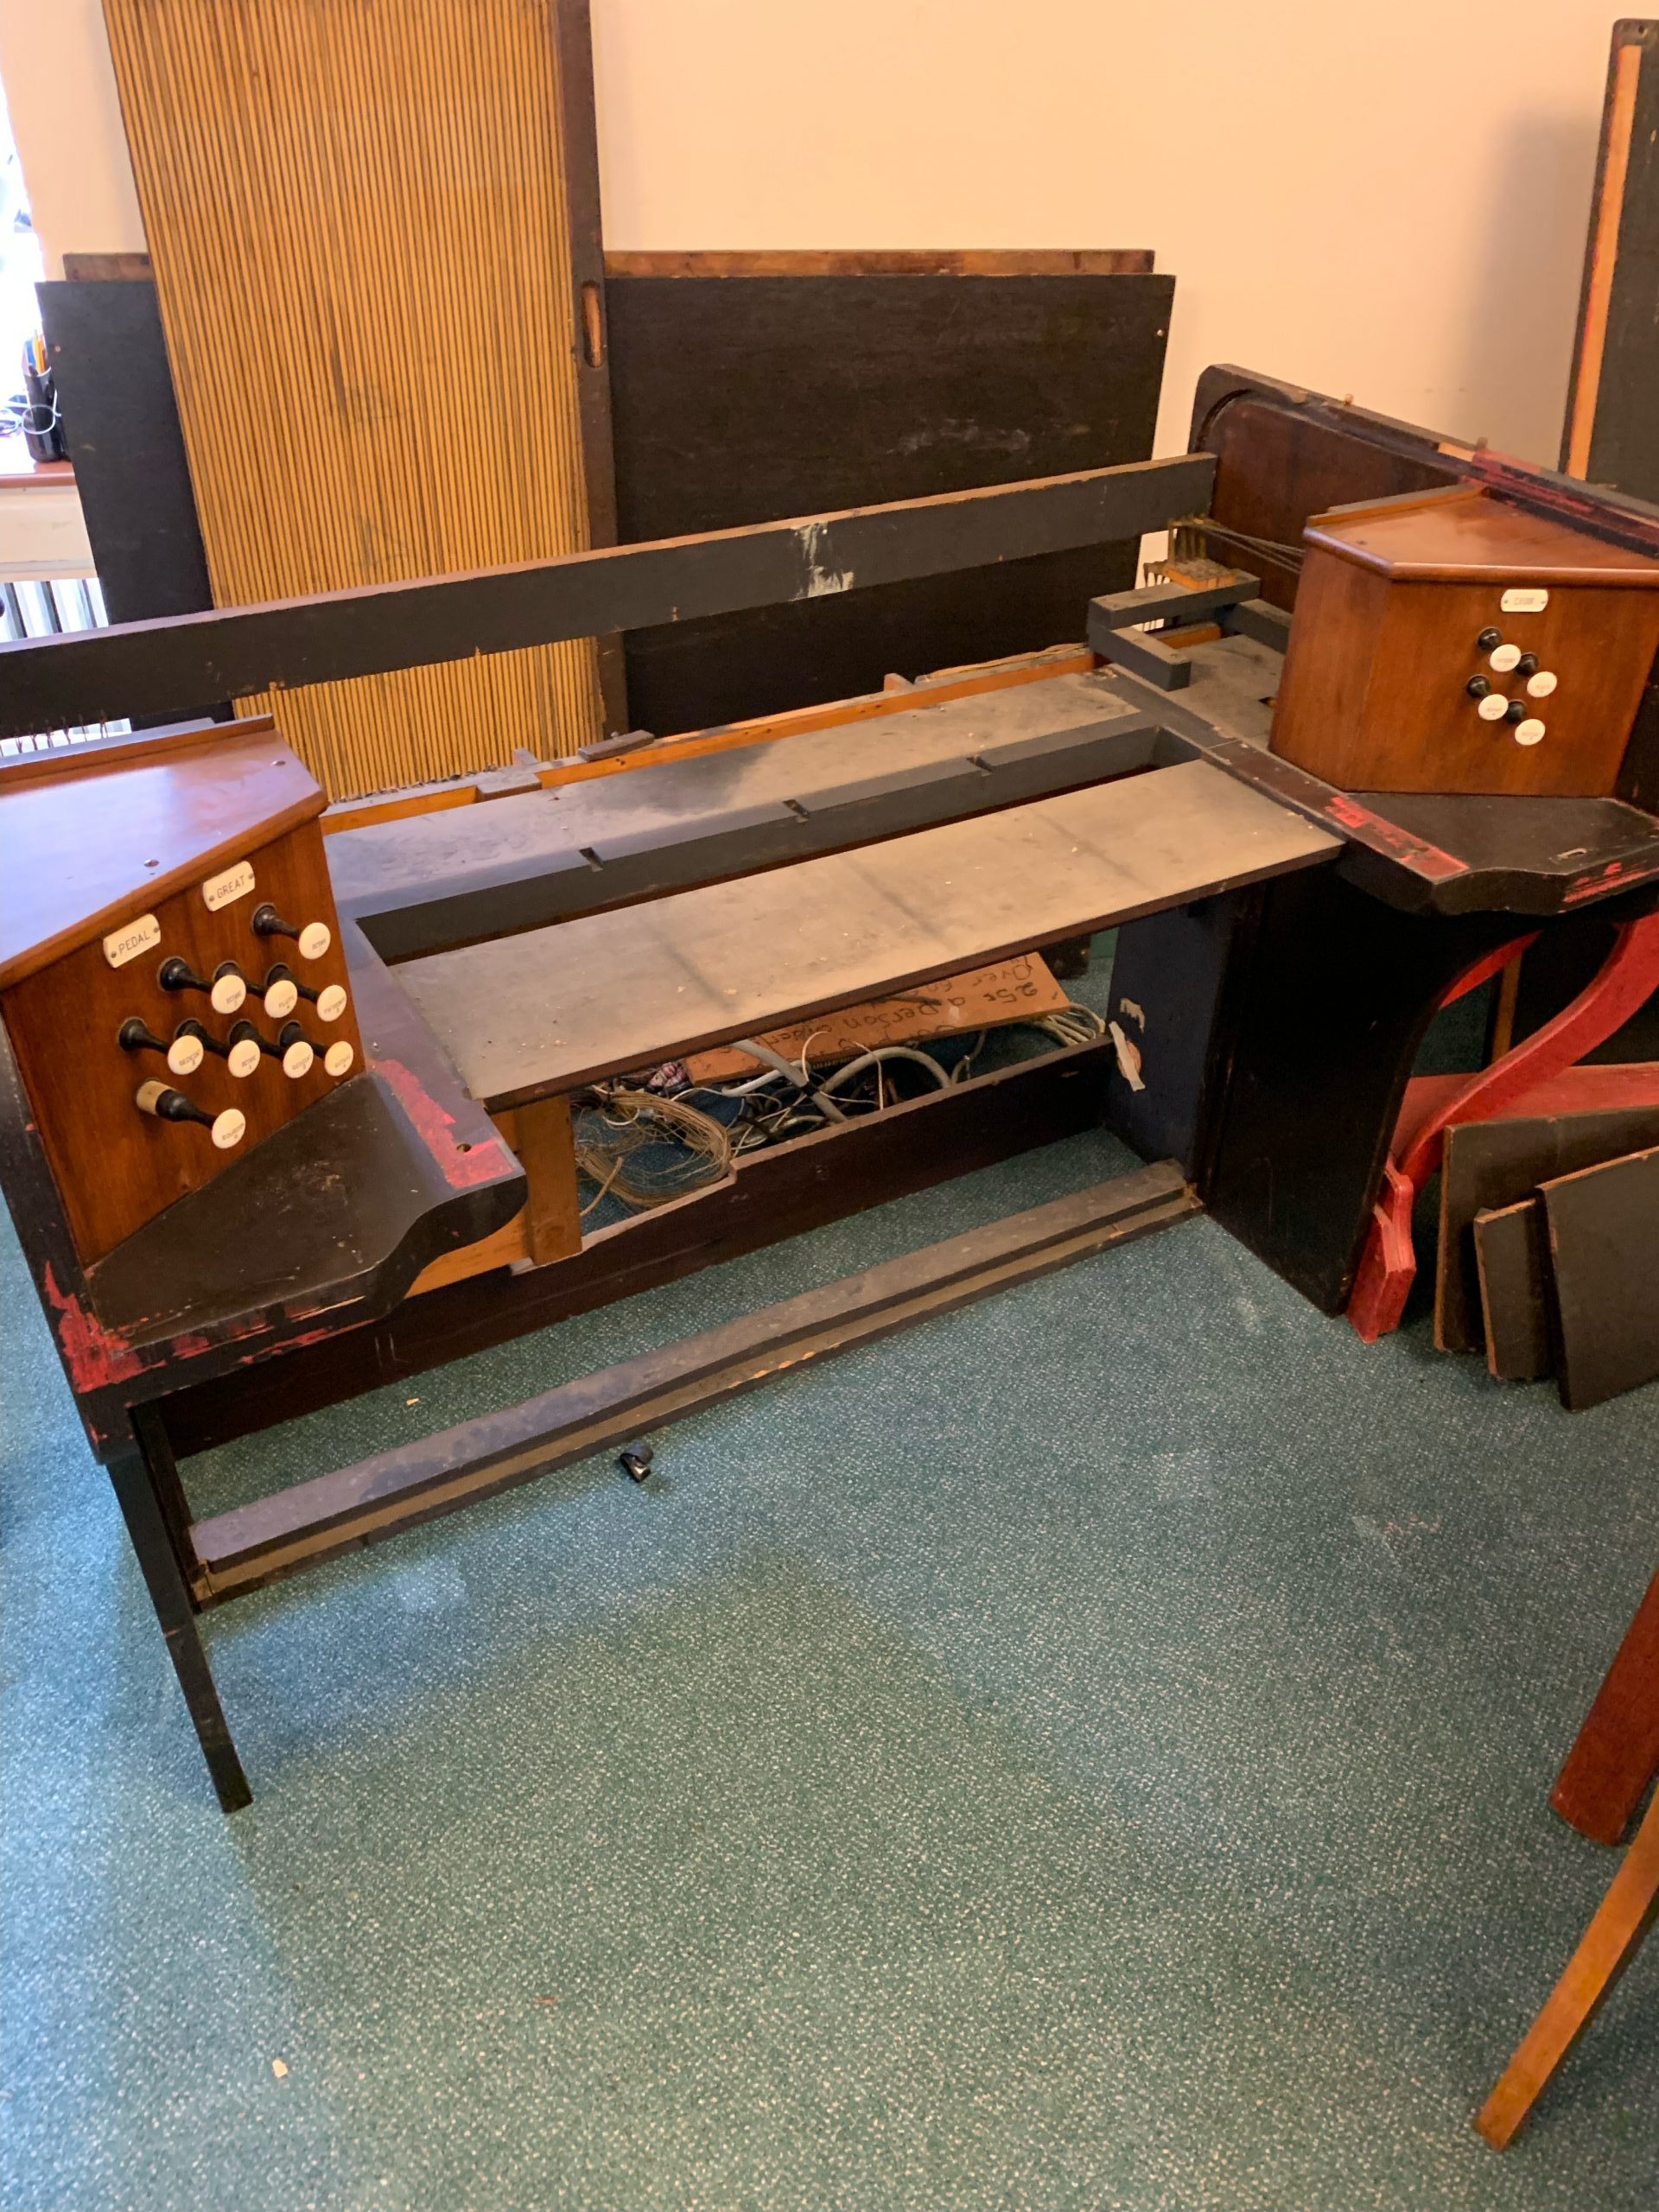
Stop action switches will return to the inside of the console, now rewired and simplified. New MIDI converter boards will get mounted in the center section.
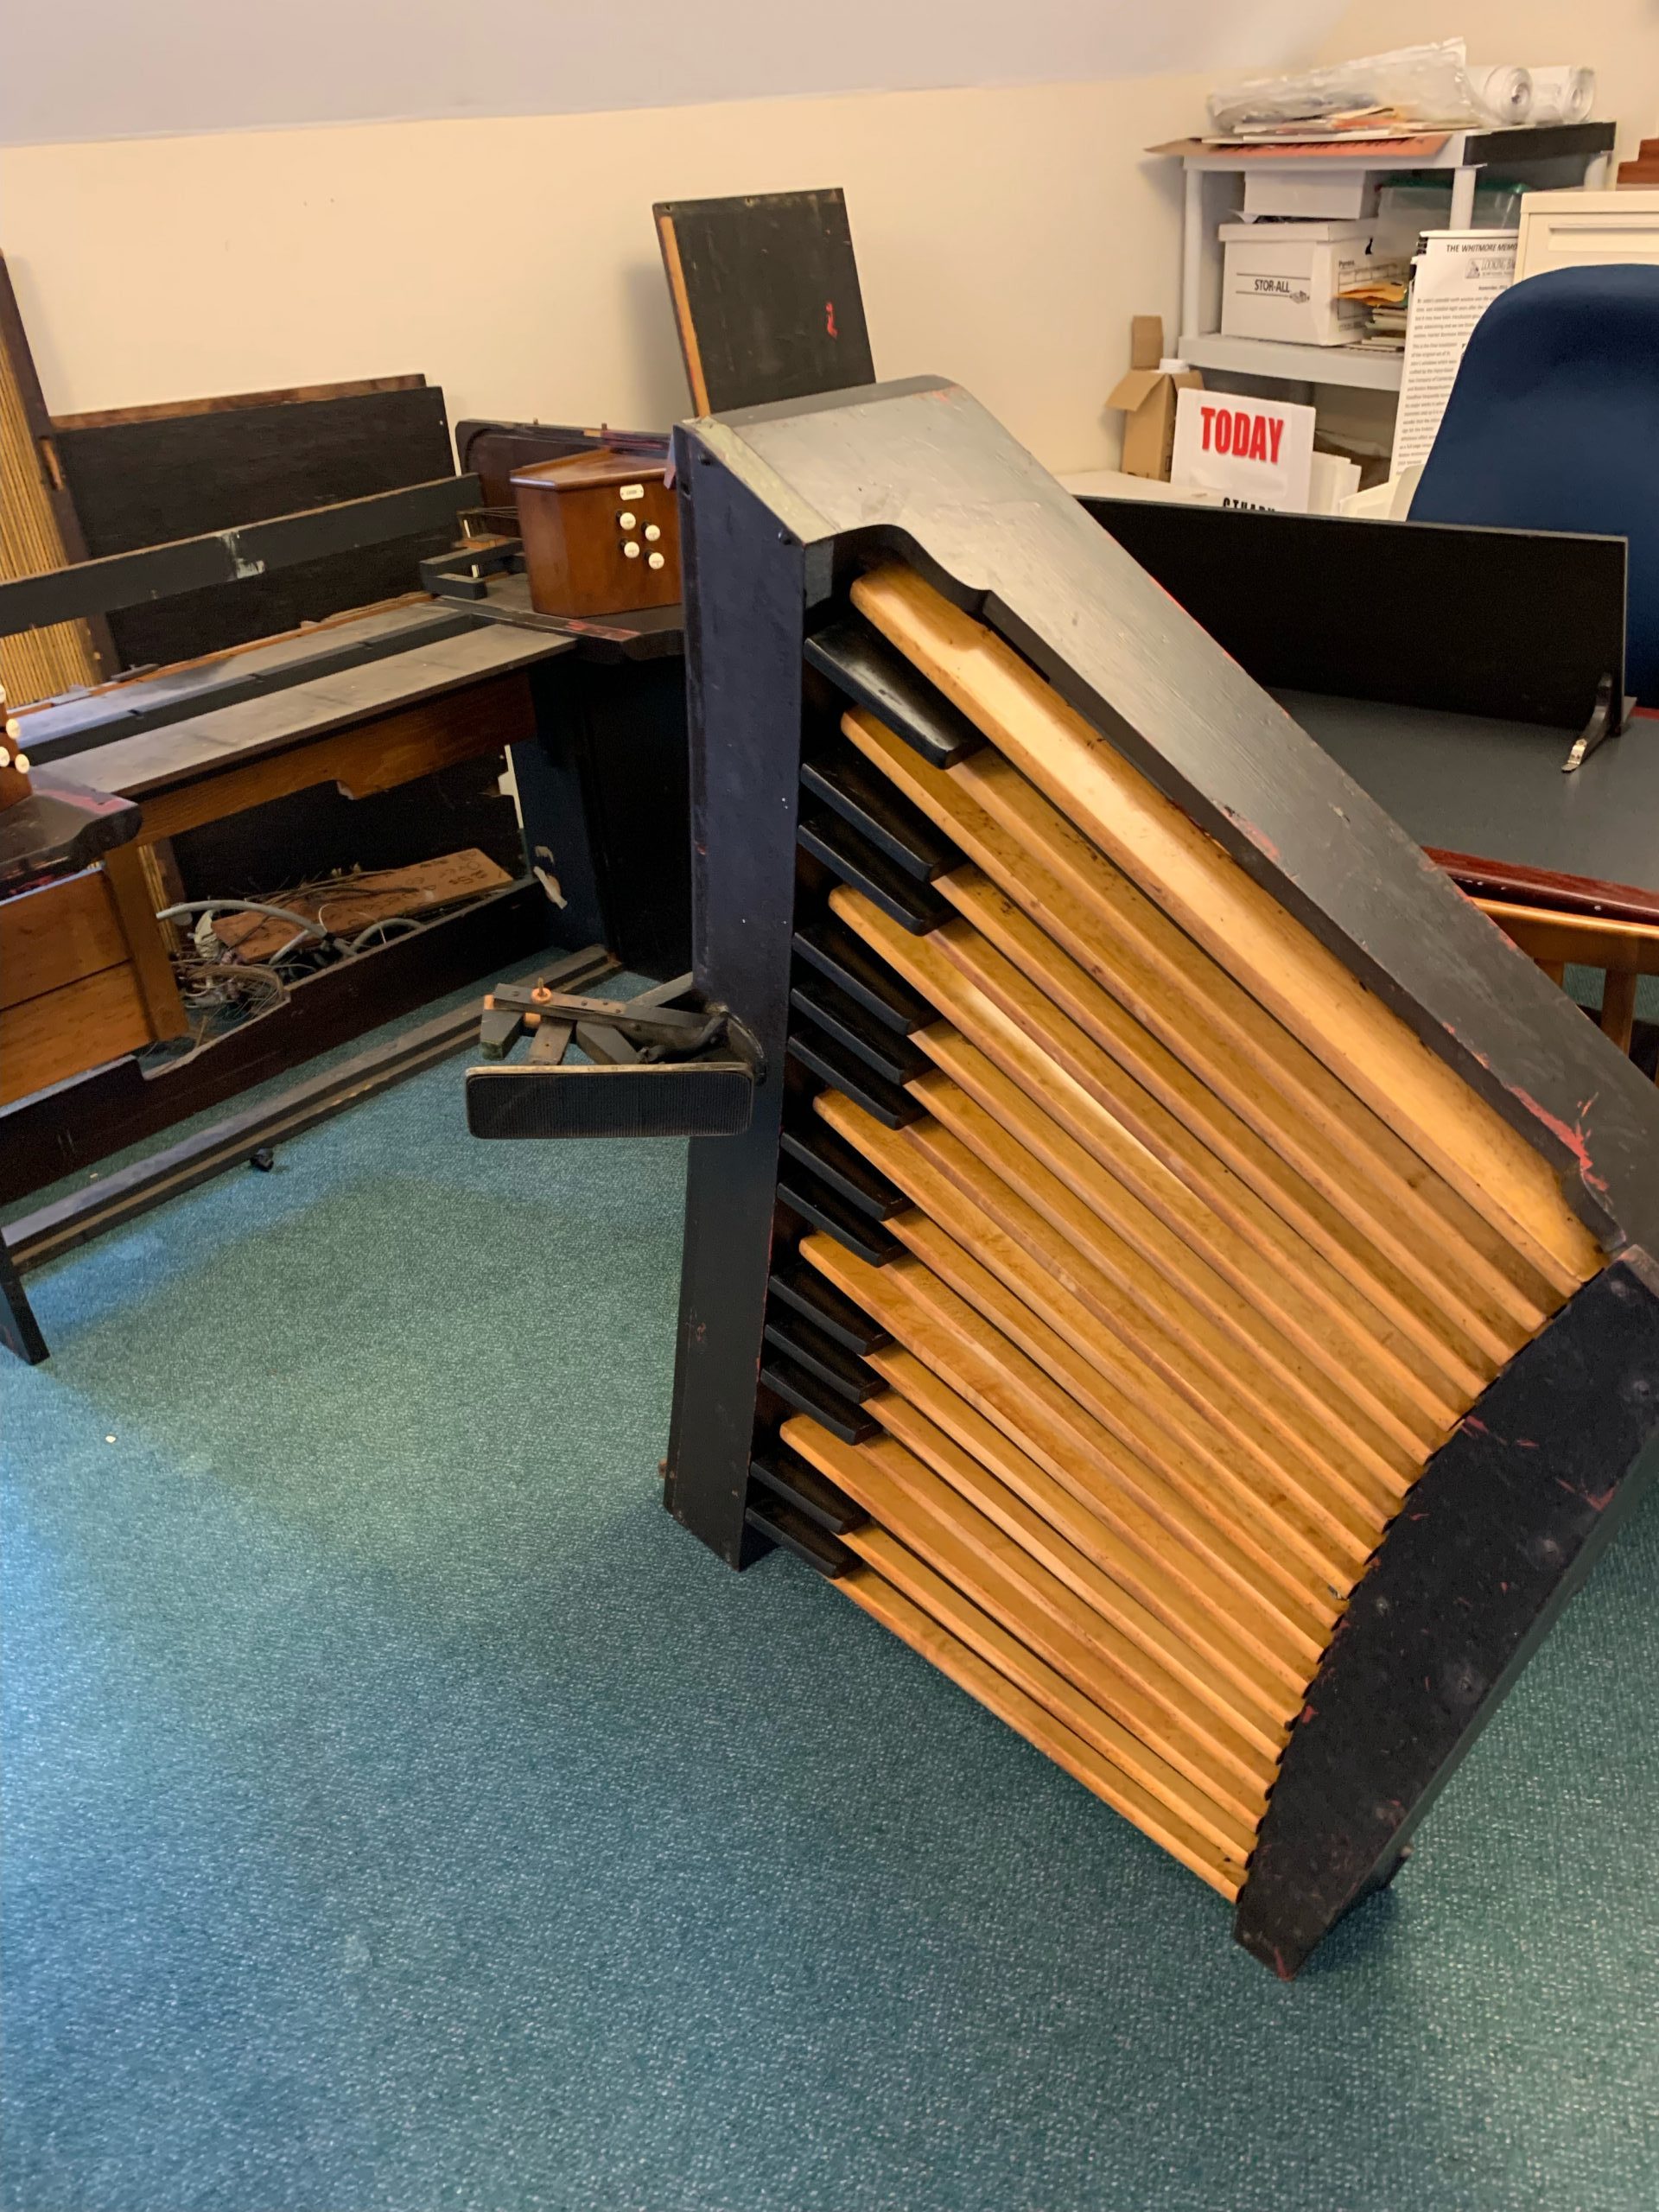
That complete, I’ve moved on to the pedal key contacts. Same process as the manuals, but newer wire is in use here, from a previous refurbishment. If I had been smart, I would have cut the cable with enough slack to re-use as I did on my first project, but as you’ll see below, nope. So, it’s unwire, rewire.

Homework complete! Re-activated the swell expression pedal by retrofitting a new slider pot to it – this took some clever engineering, and patience drilling into the cast-steel shoe itself. Pedalboard was taken outdoors for a beautiful afternoon of contact scraping and burnishing, followed by installation of the contact rail. Finally, I installed the DTS encoder cards on the stop action panel. Now everything is ready to be brought back to church to be reunited with the console shell and installed in its new home!